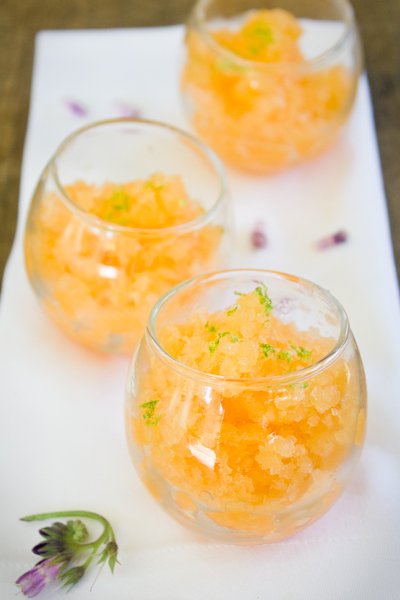
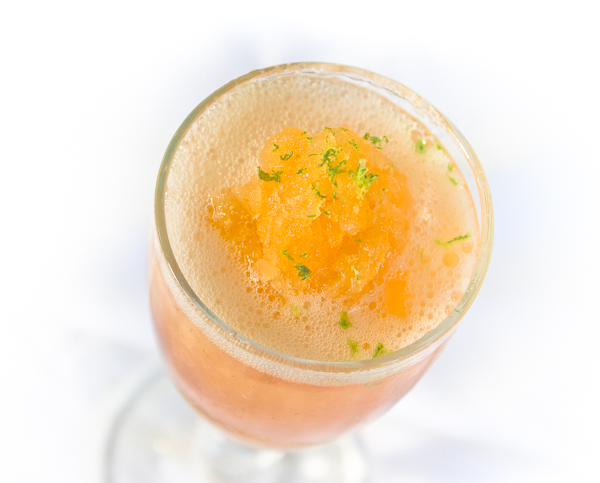
 My grandfather loves cantaloupe. At least I assume he does, as he has eaten a half cantaloupe filled with cottage cheese for lunch almost every day that I have known him. I vividly remember him coming home for lunch (coming home for lunch!) when I was visiting them in my childhood, and my grandmother having his melon ready at his arrival. He's turning 89 in four days, so the cantaloupe clearly did right by him. For the most part cantaloupe has been something I could take or leave. I'd take some to balance out the color at the occasional brunch buffet, but generally would dig though the melon bowl to scoop out as many of the sweeter watermelon cubes as I could unearth. However, when I was pregnant last summer, the only slightly unusual craving I developed was for cantaloupe. And lots of it. Particularly as the summer went on and the weather was sizzling hot. It was then I discovered an orange-fleshed melon Shangri-La on the tables of the summer's farmers' market. Tiny, outrageously sweet, nubby-skinned melons came out in abundance in the months when we needed them the most. Numerous heirloom varieties, particularly ones about the size of a softball, exploded with fleeting flavor. Heaven. And obviously Papa was hip to this many decades earlier. This incredibly simple, two ingredient, refresher is a stunning way to use this stunning fruit. It also helps in keeping their fast-ripening goodness around for a day or two longer. Happy Birthday Charlie, and thank goodness for the humble cantaloupe.
 | ||||||||||||||||||||||
 It always is the case that this time of year is when I finally start to think about drying and putting away some fresh herbs from the garden. Maybe it is because I am so busy using them fresh in the previous months, or I'm subconsciously trying to put them away as late as possible to have them fresher longer (or I procrastinate...). Regardless, it is not until the the temperatures flirt a little with the upper 30s (like it did last week!) (and which can be the kiss of death, literally, for basil and other more delicate herbs) do I seem to motivate to do anything long-term with them. Along with the weather dipping lower, and Friday's first day of fall, I also start craving warm cups of tea, and, just as big marketing execs would want, start thinking ahead to the holidays. This project helps satisfy both categories. 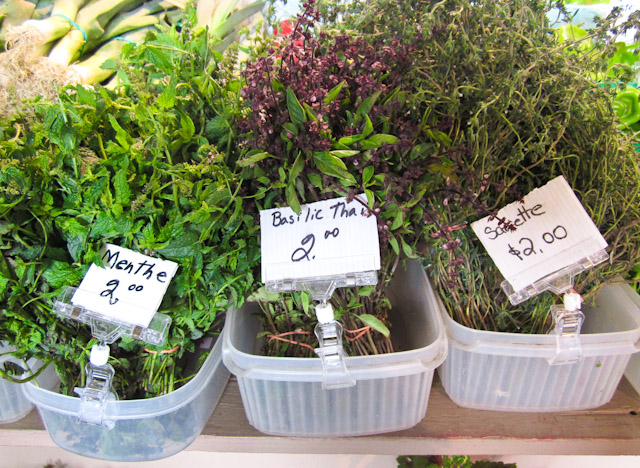 Herbs at the Jean-Talon market in Montreal last month. Giant, and criminally inexpensive, bunches of gorgeous, fragrant, vibrant herbs are still available in the farmers' markets, and until a frost, perhaps in your yard or garden. Drying an assortment will give you great building blocks for your own herbal tea. Endlessly customizable, and super-natural, will be far more flavorful than anything that has been sitting on a store shelf for months and months. And putting away more than you need will also give you the raw materials for a lovely on-the-fly holiday gift. (more…) | ||||||||||||||||
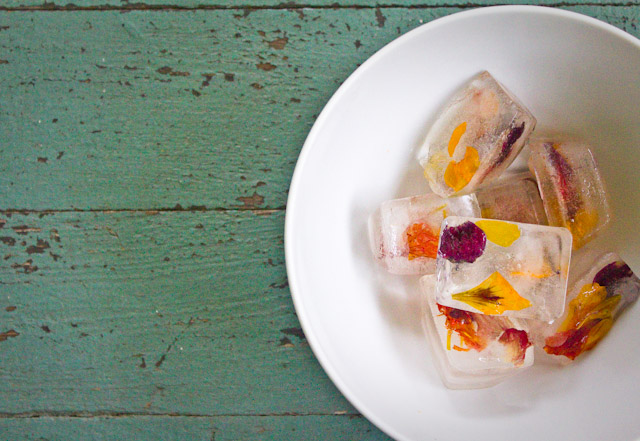
Remember those old lady knickknacks of the late 70s of a flower completely frozen in a globe of lucite? There were a few geriatric abodes I visited during that era, and those stopped-in-their-tracks flowers were always a fascination. So perfect and yet so bizarrely frozen. You can make your own, a bit more ephemeral, version as another gorgeous use for edible flowers. Encase your posies in ice cubes to chic up late summer cocktails or mocktails. You can use any edible flowers for this project. The flower doesn’t impart all that much flavor to the cube or drink when simply frozen or floating, so it is possible to just focus on color. However, if you think they’ll be eaten, or floating around for a while after they’ve thawed, there are a few pairing ideas below. This is a super quick, nearly effortless way to bring some garden to your cocktail hour. I think it would also be a stunning addition to the season’s bridal and baby showers. Ring-a-round the spritzer, a pocket full of on the rocks. Directions: 1. Wash your flowers gently and carefully, making sure to get rid of any unsuspecting bugs so you don’t accidentally go all fossilized wooly-mammoth on your guests. Tiny, perfect flowers can be frozen whole, but large, somewhat less perfect blossoms, can be torn for an equally pretty effect. 2. In an ice cube tray, pour the slightest amount of water to just cover the bottom (which will be the top) surface. Place your flowers in, facing the bottom (so ultimately right-side-up) touching the thin layer of water as much as possible. Remember: The larger the ice cubes, the longer it will take them to melt… 3. Place trays in the freezer, until the first layer is solid. Remove from freezer, and top with a bit more water and another layer of flowers, if desired, or fill completely. 4. Return ice cube trays to the freezer until frozen and ready to use. Unmold and cheers! Ideas for Use: -- Clear drinks work best. This is even a great way to doll-up a simple glass of seltzer. -- Use flowers from mint, lemon verbena, chamomile, lemon balm, lavender, and even thyme for lemonade. -- Try mint, leaves and flowers, in ice cubes for mojitos -Try thai basil blossoms in ice cubes for thai basil mojitos. -Mint, chamomile, apple blossoms, rose petals and rose hips would be delish in iced tea. -Elderflowers or cucumbery Borage in a gin and tonic on a summer evening. Oh my. 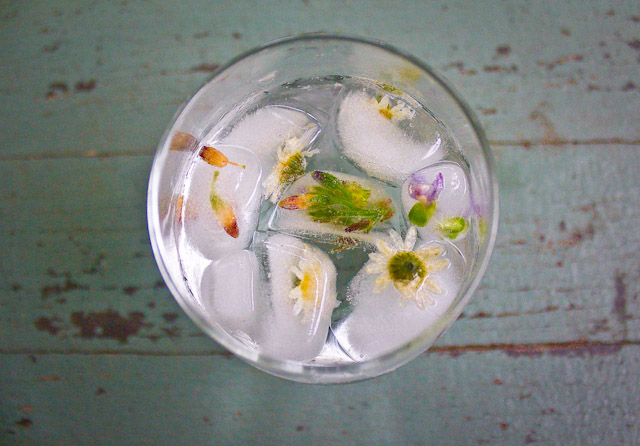 | ||||||||||||||||
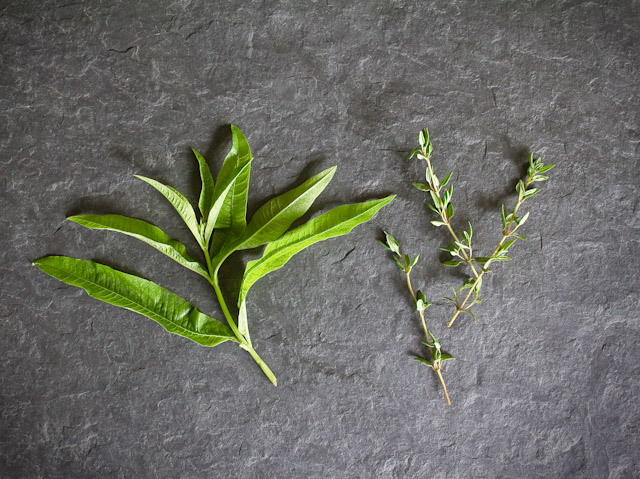 Our herb garden is growing like weeds. Well, truth be told, the weeds are also growing like weeds. But between the weeds are fragrant, mystical herbs, that are spicing up meals and will also shortly be hoarded away in ziplocks in the freezer for less bountiful months. My favorite herb is lemon verbena. It smells like something that should come from a much more tropical locale--even the plant, with its woody stems and slender leaves, looks rainforesty. Rubbing your fingers on one of the leaves, as I do at the start of many days, is an instant antidepressant. Bright, intensely fragrant, with an aroma and flavor that is distinctly the sweeter side of citrus. Too much and it can make a dish taste like bad perfume, in the right amounts it is transporting. My husband's favorite herb is thyme. It definitely stems (pun intended) from his early childhood-rooted love affair with weekly roast chickens. He painstakingly freezes bunch upon bunch of this savory treasure and stuffs several sprigs under the skin of our weekly roast chickens through the year--as well as it being used in our homemade soups and beloved stocks. So this recipe is a love letter to our favorite herbs. Citrus and thyme marry beautifully, fortunately for us, and both herbs are in great abundance now and for the next couple of months in gardens and markets. A not-too-sweet aromatic addition to sodas and cocktails, and a refreshing palate cleanser when spun into a sorbet or scraped into a granita. Try any of the above with a few fresh berries, oh my. (more…) | ||||||||||||||||
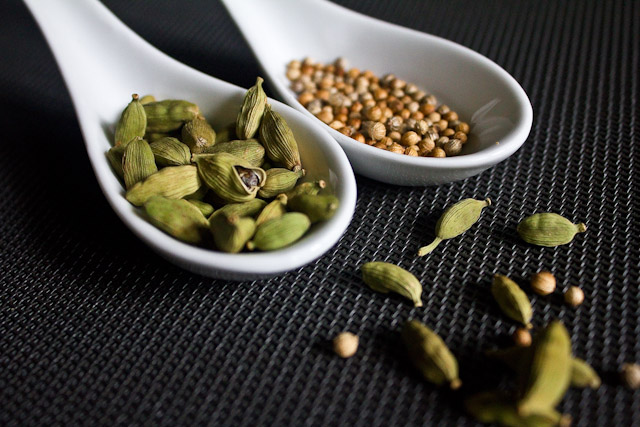 The cilantro we planted in our garden around Memorial Day, has already started to bolt some from the heat in recent weeks--it is nearly July after all--and shortly will start to go to seed. Those seeds, as you may or may not know, are coriander. They will first be plump and bright green, a wonderful ingredient in and of themselves, then maturing and drying to the tan spice with which we are more familiar. They'll probably be showing up at the farmer's markets shortly too. Cardamom comes from a tropical plant, so probably won't be making any appearances at my New York State farmer's markets or gardens, but is a flavor that seems to scream summer and snuggle up exceptionally well with summer flavors. Peaches, apricots, lemons, pears, warm weather baked goods, and definitely coriander, all have a great affinity for pairing with cardamom. This soda syrup is a vacation in a glass on a steamy summer day. Mix it with seltzer (from my favorite appliance ever, the Sodastream Seltzer Maker Sip. Sip. Fizz. Fizz. CARDAMOM AND CORIANDER SODA SYRUP by Catie Schwalb Makes about 2 cups. 4 tablespoons whole green cardamom pods, crushed gently to expose inner black seeds 1 tablespoon whole coriander seeds 3/4 cup sugar 1 1/2 cup water Place coriander seeds in a small pan on medium-high heat. Toast gently, swirling frequently, until the seeds just start to become fragrant. Immediately remove from heat and pan. In a sauce pan combine sugar, water, coriander and cardamom. Bring to a boil, and then turn down to a moderate simmer for about three minutes, until all of the sugar has dissolved and the liquid is clear. Allow the syrup to sit and infuse with the flavors for at least and hour and up to overnight. Refrigerate if leaving for longer than a couple of hours. Strain syrup and discard spice solids. Store syrup in an airtight container in the refrigerator for up to five days. To make cardamom and coriander soda--Combine about 1 oz of syrup to 12 oz of seltzer, fill the rest of the glass with ice. Stir well. Adjust syrup, if you prefer a stronger flavor. Garnish with a slice of lemon. | ||||||||||||||||
 a dog day of late spring. Sparkling Panakam: This recipe from Heidi Swanson's (101cookbooks.com) new book Super Natural Every Day Strawberry-Rhubarb Coffee Cake: This recipe was given to me by a great friend a year ago--a great friend indeed, as it came binder-clipped to a big paper bag full of homegrown rhubarb. The rhubarb went to very good use, but I still haven't had the chance to try this recipe. It came with a rave review and I can't wait. | ||||||||||||||||
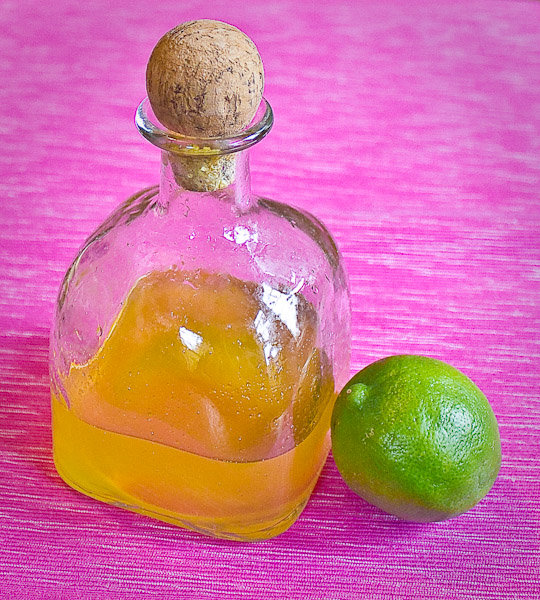 Here is another soda syrup recipe to accompany yesterday's homemade ginger soda syrup. Super refreshing and light, making me crave flip flops and sunscreen. Try mixing a little of both syrups together for mango-lime-gingerlicious beach blanket bingo in a glass. Who says it's only april? HOMEMADE MANGO LIME SODA SYRUP by Catie Schwalb makes approximately 1 1/2 cups. 1 mango, peeled, and roughly chopped, save the pit 1 cup of sugar (you may decide to use much less, depending on how sweet and ripe your fruit is) 2 cups water 2 limes, juice (about 3 tablespoons) and zest fine strainer cheesecloth Place mango, mango pit, sugar, water, lime juice and zest in a small pot. Bring to a gentle boil, and the turn off heat. Allow to steep and infuse for thirty minutes. Return the mixture to a gentle boil, and reduce the syrup by about half, until it is a slightly thicker consistency. Remove from heat and allow to cool Strain through a fine strainer lined with cheesecloth. Squeeze cheese cloth to extract any remaining juices. Refrigerate for up to one week. Mango Lime Soda: Mix 1 part soda syrup with 5 parts seltzer | ||||||||||||||||
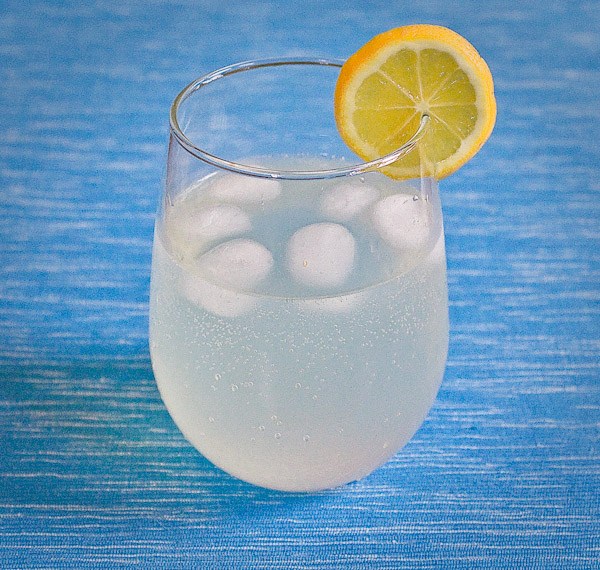 Perhaps because of the few (very few) days of slightly decent weather we've had lately, my attention has recently shifted from hot teas and afternoon hot mochas to cold, effervescent beverages. We are not big soda drinkers in our house, almost none at all, for all of the obvious reasons (high fructose corn syrup, chemicals, artificial colors,and the environmental impact of all of the packaging and distribution.) But a small spell of stomach queasiness that my husband and I both shared not too long ago (lovely), had me at the grocery store searching for ginger ale, or even better a more gingery ginger beer, sans HFCS and with real ginger as an ingredient. After not an easy time I did find a couple of options, but all ended up being too sweet for my liking. I've been following the blog and success of Brooklyn's P&H Soda Co., a small artisanal producer of all natural, small batch, soda syrups, for a little while now. With flavors including hibiscus, lime and cream, I can't wait for my next time in the city to pick up some at one of their new retail locations. But it also occurred to me that with my flail at the grocery store, and with summer gatherings-on-the-porch weather quickly approaching, perhaps I should just get myself in the kitchen and try to figure out the whole shebang, or at least part of the shebang, myself. The result made me and my stomach very happy. And like so many of my DIY endeavors, was ultimately not difficult, offers endless delicious possibilities, and has everything I want and nothing I don't. I mixed the gorgeous syrup with seltzer for an outstanding ginger soda. (A side note, we have owned the SodaStream home seltzer maker The best part of all is that you can control the sweetness, by adding more or less sugar to taste, and the ka-pow of the soda, by adding more or less syrup to your seltzer. Experiment, concoct and enjoy. 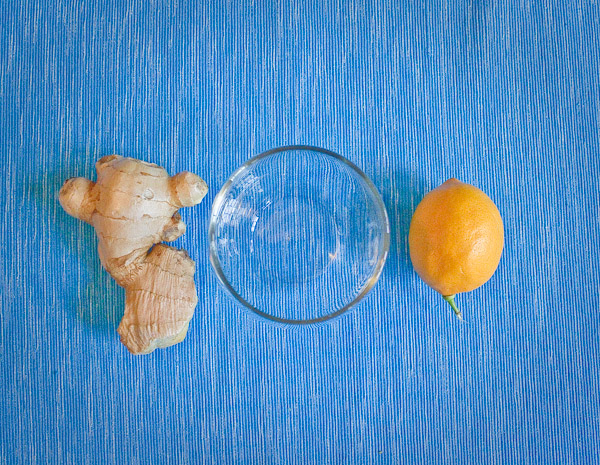 HOMEMADE GINGER SODA SYRUP by Catie Schwalb 1 cup sugar 1 cup fresh ginger, peeled and coarsely grated on the large holes of a box grater 2 cups water 1 tablespoon lemon juice fine strainer cheesecloth TIP: To peel ginger, wash and then use the front of a small spoon to scrape away the thin peel. It will come off easily and a vegetable peeler tends to remove too much of the ginger meat. Grate the ginger, and gently transfer it to a saucepan, careful not to squeeze out or lose any of the flavorful juice in the process. Add the sugar, water, and lemon juice to the ginger. Bring mixture to a gentle boil and turn off heat. Allow mixture to steep and infuse for thirty minutes. Return the ginger mixture to a gentle boil and reduce it by about half, until it has a slightly thicker, more syrupy consistency. This is just really evaporating the extra water, and adjusting how concentrated you want the syrup to be, so go as long or short as you want, but do not let it cook so long that the syrup starts to get very thick, turn amber in color and caramelize. Remove from heat and allow syrup to cool. Strain through a fine strainer lined with cheesecloth. Squeeze cheesecloth to extract any remaining juices. Refrigerate for up to a week. For ginger soda: Combine 1 part ginger syrup with 4 parts seltzer, or more or less to taste. | ||||||||||||||||
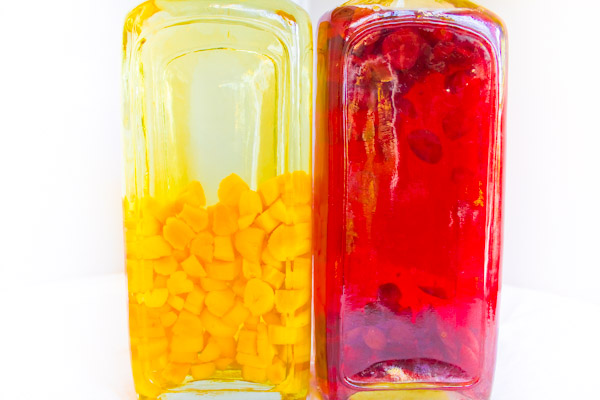
The flavored vodka market appears to have exploded in the past few years. On a recent trip to the spirits shop, there were shelves upon shelves of vodkas in all imaginable flavors. Whipped cream, bacon, and sweet tea were new ones that caught my eye, but not quite my wallet. 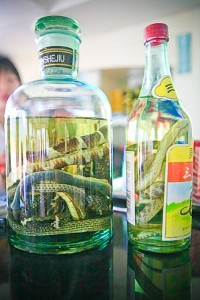 Infusing alcohols is an ancient practice. I read recently of a newly translated Mongolian cookbook dating from 1330, that included a recipe for lamb stew infused vodka. When my husband and I were in China for our honeymoon, on several occasions we were offered a nip from a large glass bottle of grain alcohol, which housed several poisonous snakes. The traditional elixir is thought to have medicinal properties, and held a place of honor in most of the homes we visited. I can't comment on its medicinal effects, but when we finally gave in (impressed?), it wasn't awful, though had a slightly slippery feel as it went down my throat. And I didn't die. Infusing alcohols is an ancient practice. I read recently of a newly translated Mongolian cookbook dating from 1330, that included a recipe for lamb stew infused vodka. When my husband and I were in China for our honeymoon, on several occasions we were offered a nip from a large glass bottle of grain alcohol, which housed several poisonous snakes. The traditional elixir is thought to have medicinal properties, and held a place of honor in most of the homes we visited. I can't comment on its medicinal effects, but when we finally gave in (impressed?), it wasn't awful, though had a slightly slippery feel as it went down my throat. And I didn't die.But snakes and bacon aside, infusing your own spirits is a simple and delicious project, and good skill to have at the ready. A couple of months ago I posted a recipe for DIY Vanilla Extract, which included instructions for homemade vanilla vodka. I took my own advice and gave a few of these as holiday hostess gifts, and was the belle of the ball. My very first attempt at home infused alcohols was this beautiful recipe for fresh strawberry aquavit liqueur, from the gorgeous La Cucina Italiana magazine. In both cases I very much appreciated that I was able to use fresh and natural ingredients, that resulted in a far superior flavor, from anything I had tasted from a store. (more…) | ||||||||||||||||
Nothing like a little wild turkey to follow a blizzard.
This was the scene out my bedroom window this morning. The sheep were highly amused. http://www.youtube.com/watch?v=wRP2p9uYOVo Speaking of Wild Turkey, I definitely plan on warming up at the end of this long snow day with this recipe for a Hot Toddy, posted this morning by Edible Manhattan. Lemon, honey, clove, cinnamon... Sweet dreams. | ||||||||||||||||
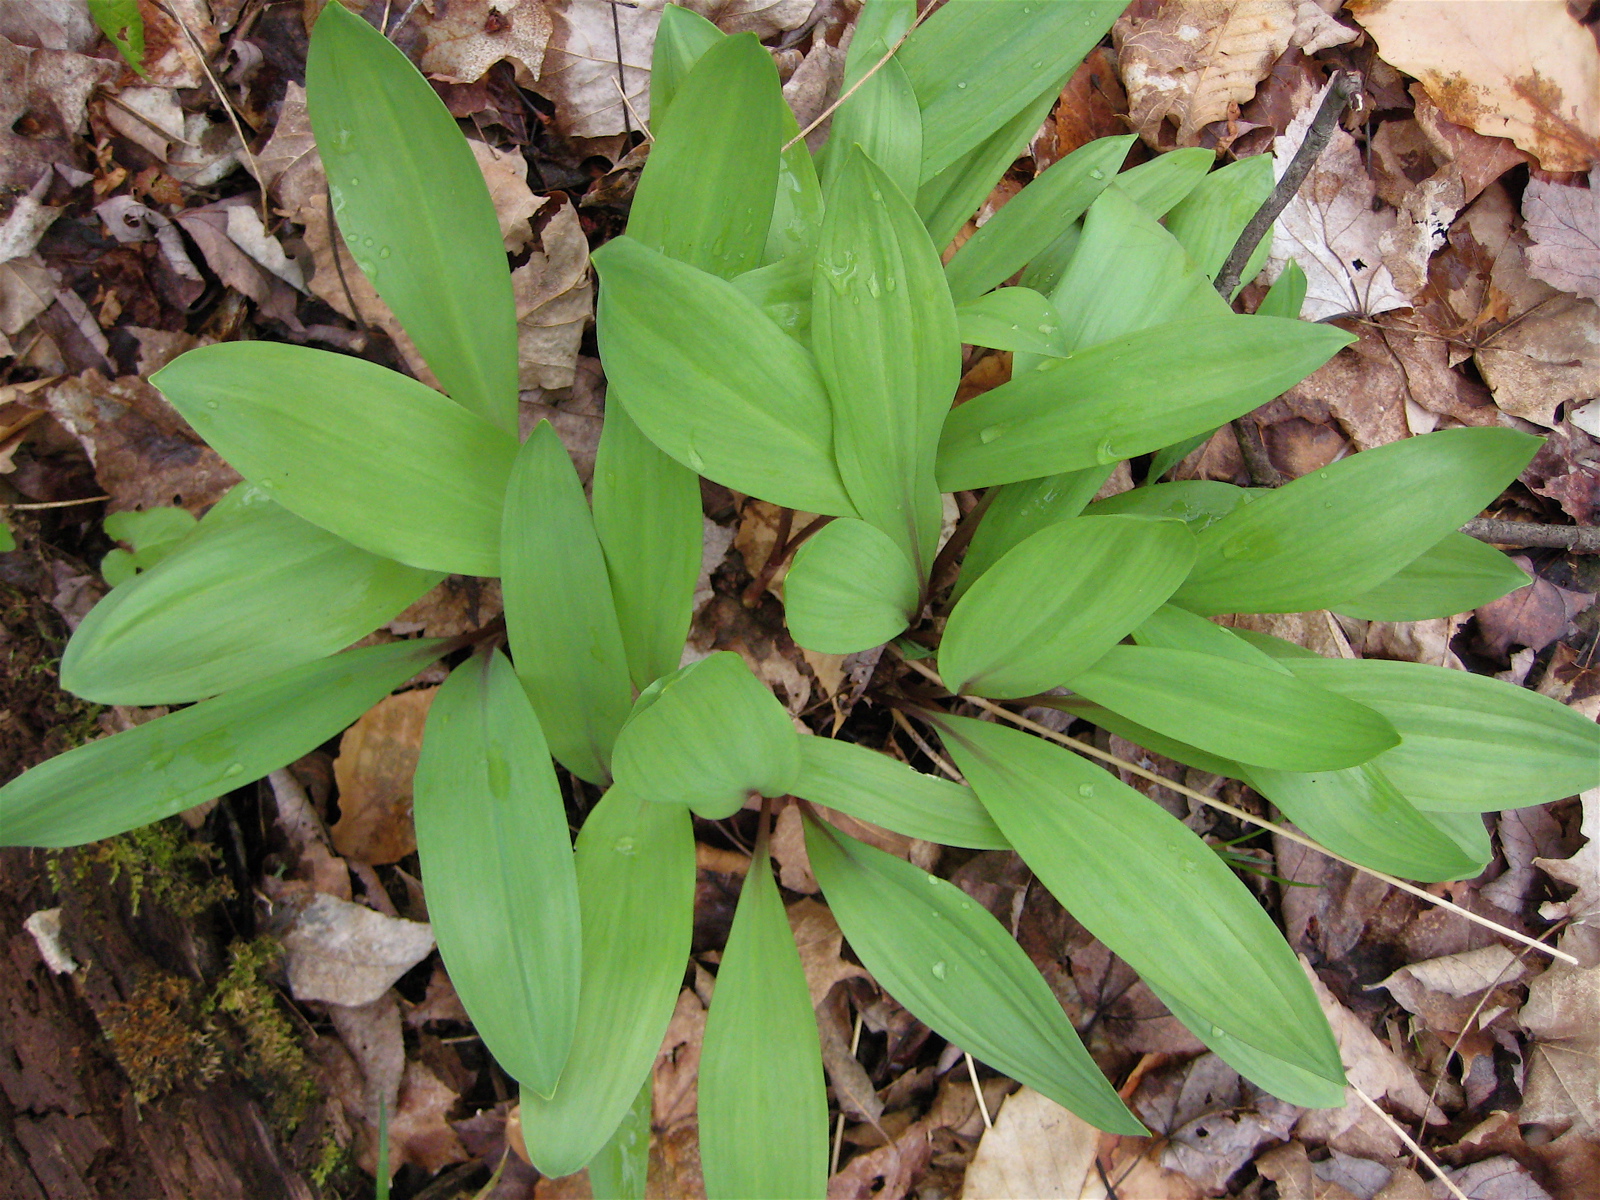
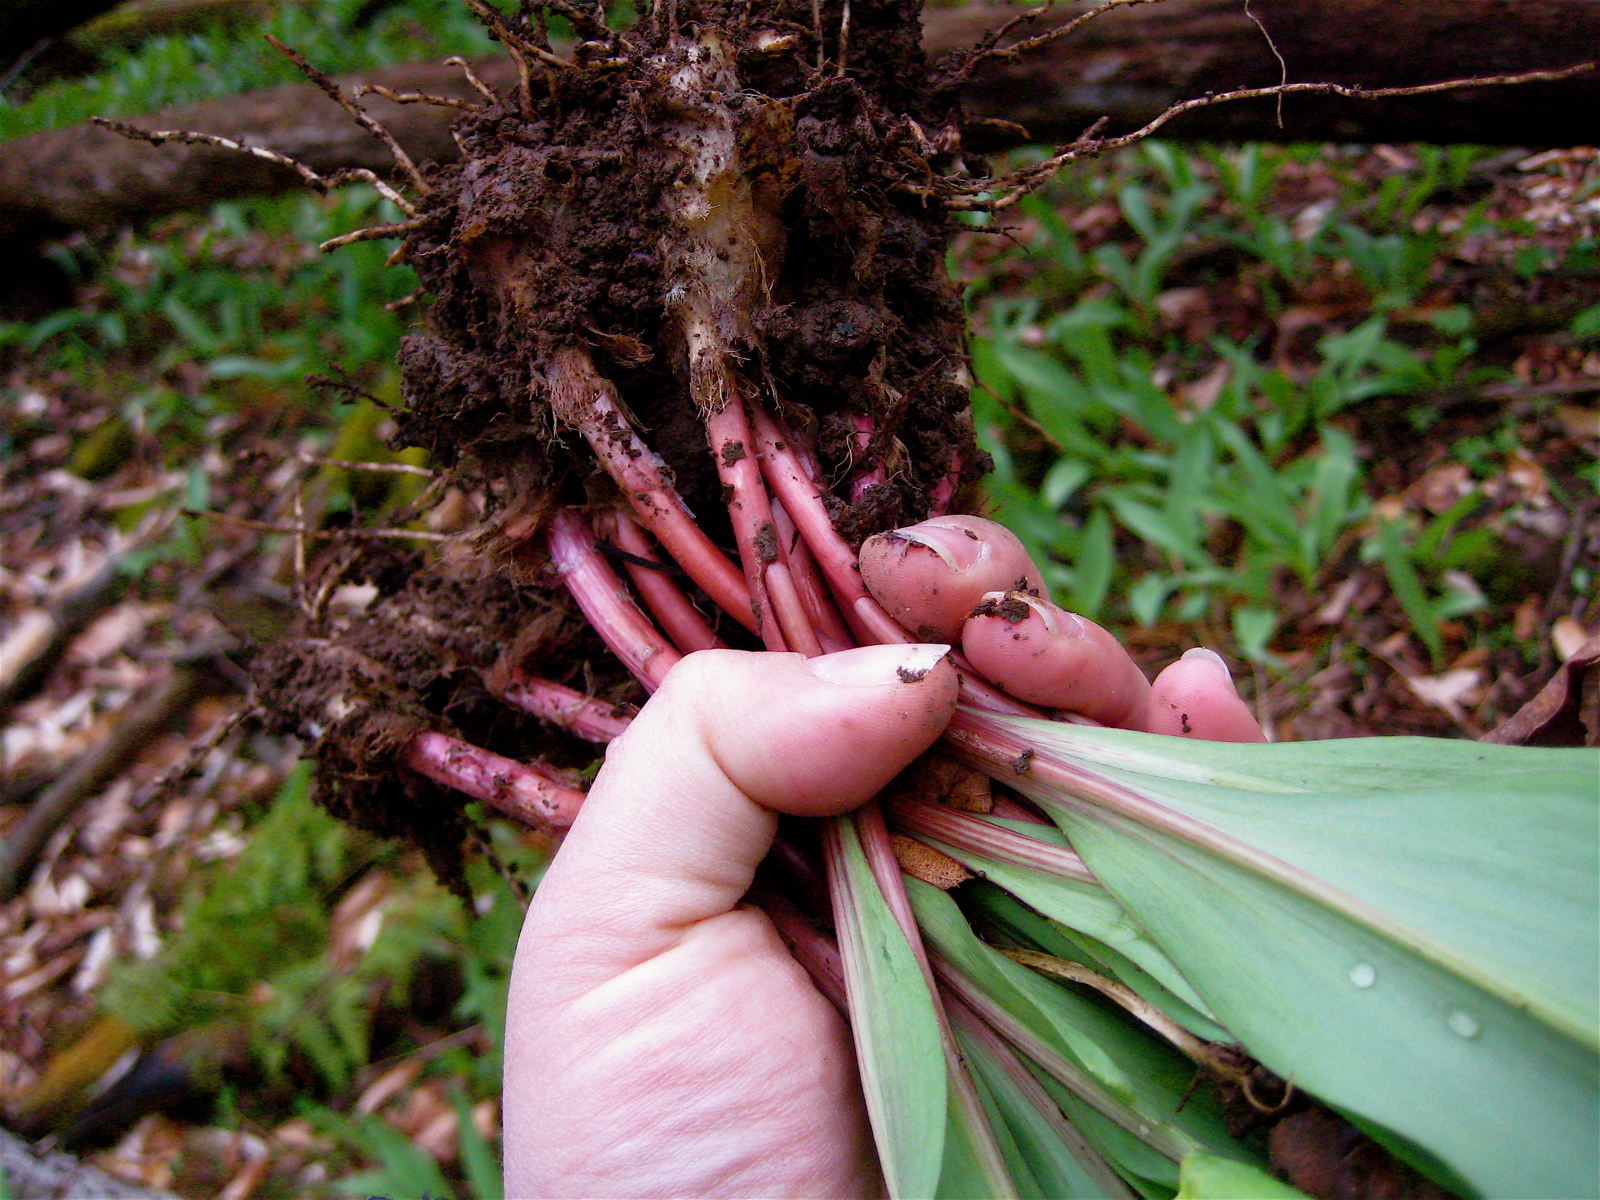 This past weekend friends who live near us upstate, on an area overrun with ramps, graciously invited us over for our second annual swap of all-we-can-pick ramps for a pick-up truck full of our "like gold" sheep manure for their garden. (So very cutting-edge-hipster-locavore. Then again, poop for weeds...) After a very muddy morning, we brought home two substantial garbage bags of ramps with their roots and soil intact, to transplant to our woods, and a very generous shopping bag of loose ramps to cook and eat. I got to work on a big batch of these slightly hot, slightly sweet, bright and tangy pickled ramps that night. I am now addicted, and looking forward to ice cold pickled ramp martinis later this summer. Oh, and picked ramps also go brilliantly with fish and roasted meats, on sandwiches, or alongside cheeses and charcuterie.
 | ||||||||||||||||||||||
A lovely and unexpected flavor combination, that serves as a small sweet forecast of warmer weather ahead.
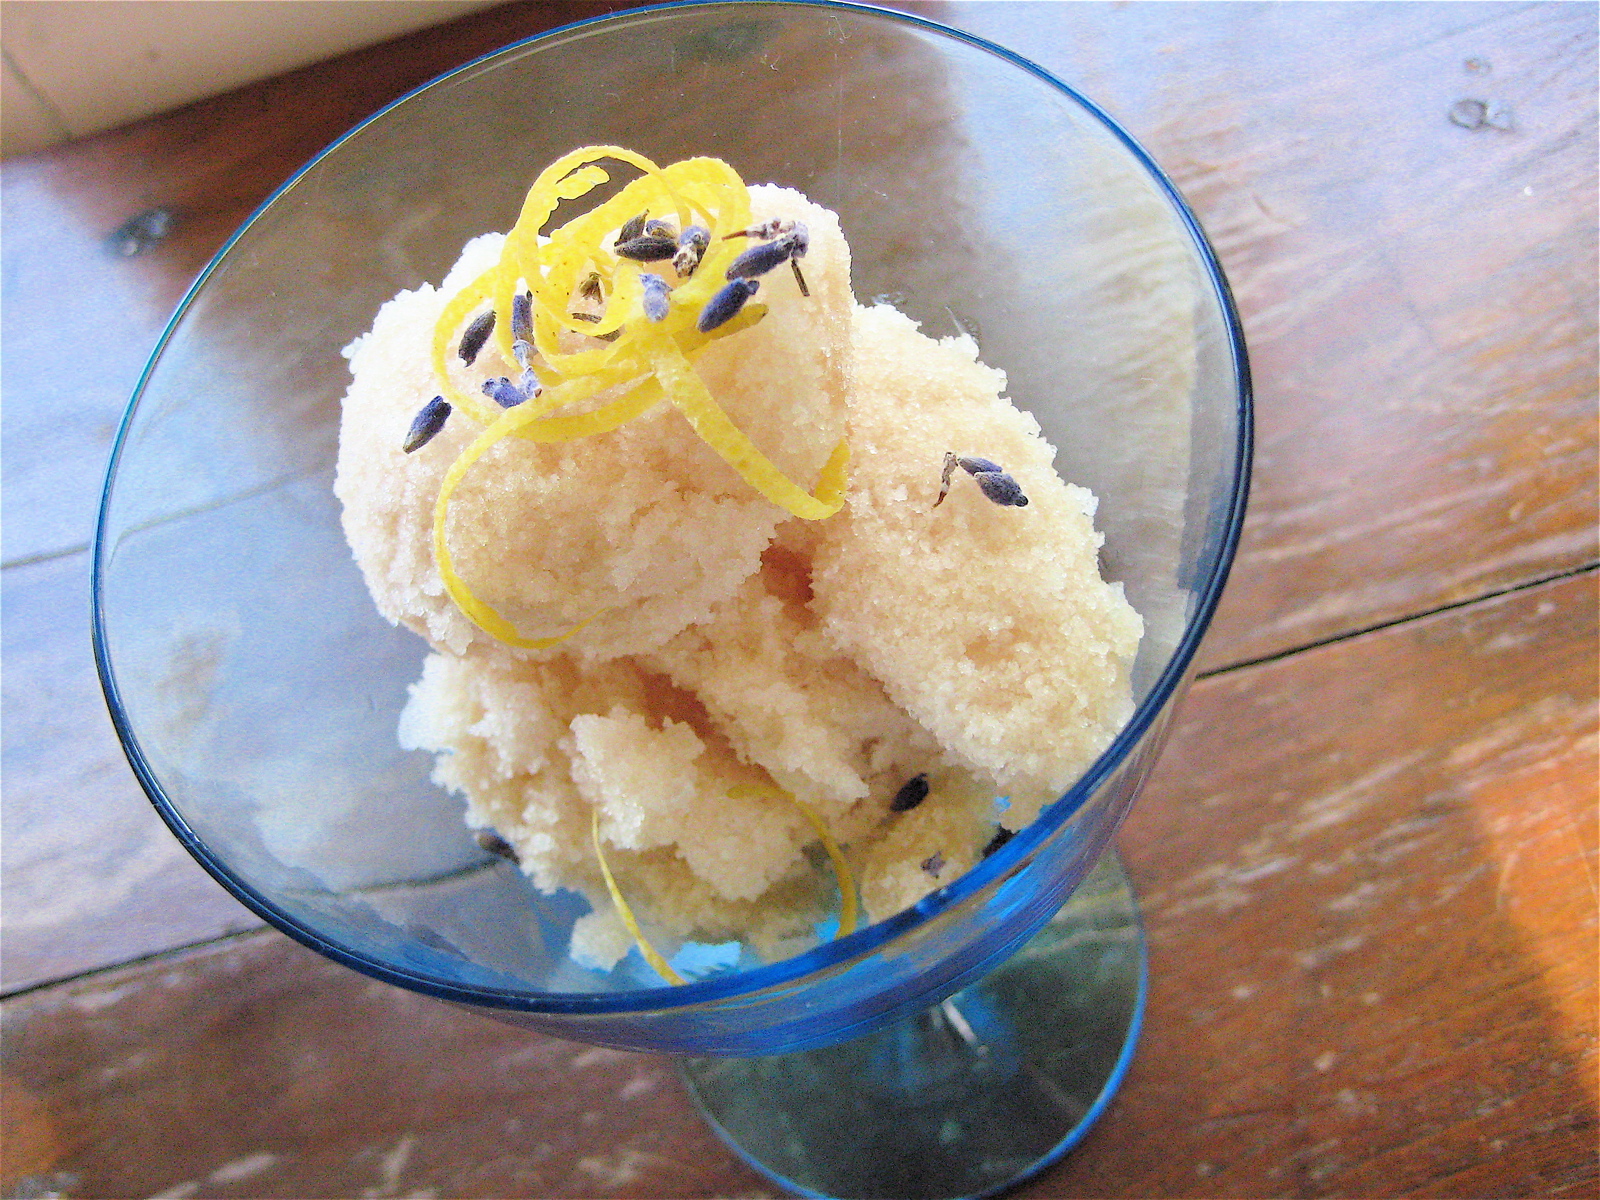
 I saw a new stand at the market this week I hadn't noticed previously. Lavender by the Bay is a lavender farm in East Marion, NY. They were selling a variety of dried lavender sachets and bouquets, but what caught my eye were small bags of dried lavender buds "for baking and tea." 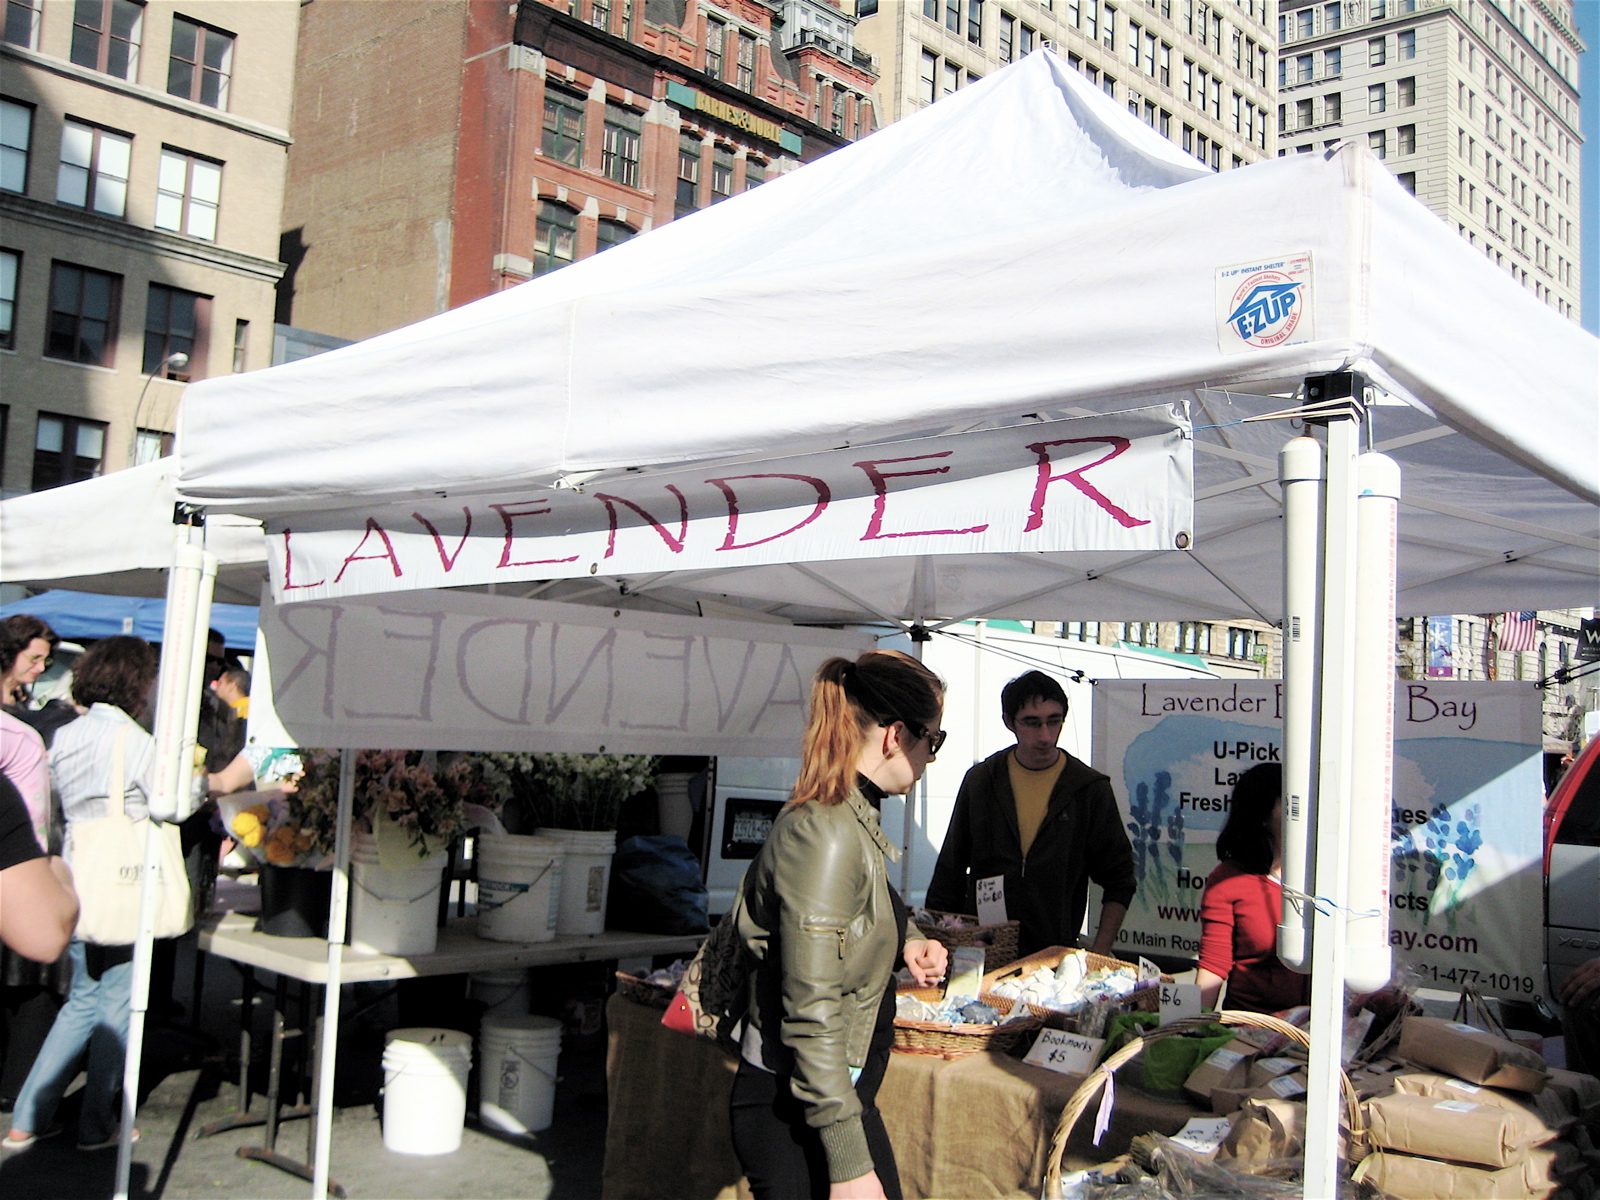 Inspired by Sophie Dahl's iced tea recipe in this month's Food and Wine magazine, I experimented with the lavender and some excellent organic earl grey loose tea I had from specialteas.com, and came up with a delicate, floral, light dessert, that is not too sweet, and slightly musky. Definitely has me dreaming of warmer days with glass of iced tea on the porch. 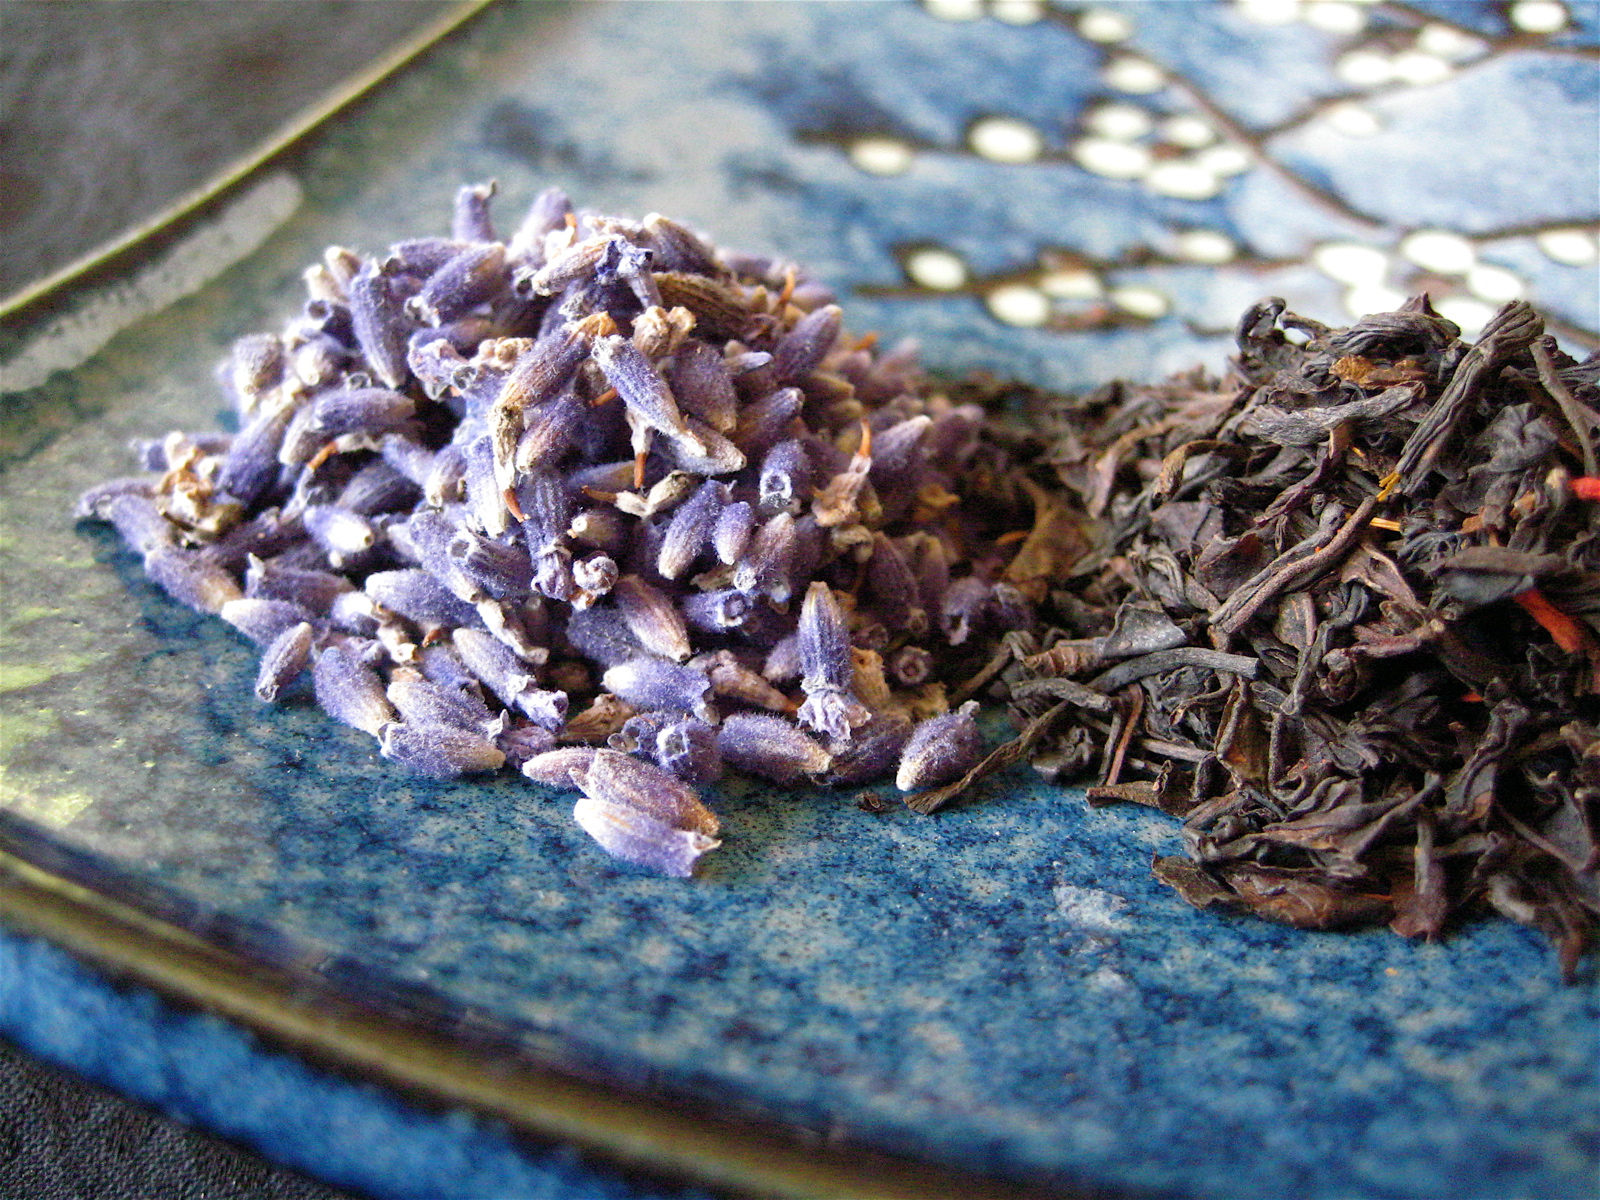
 | ||||||||||||||||||||||
|
{ welcome! }
 Catie Baumer Schwalb is a chef, food writer and photographer, who splits her life between the city and the country. Not too long ago Catie was a New York City based actress and playwright for more than a decade. She has her Master of Fine Arts from the National Theater Conservatory, and her Grand Diplôme in classic culinary arts from the French Culinary Institute in New York City.
... Read More ≫
Catie Baumer Schwalb is a chef, food writer and photographer, who splits her life between the city and the country. Not too long ago Catie was a New York City based actress and playwright for more than a decade. She has her Master of Fine Arts from the National Theater Conservatory, and her Grand Diplôme in classic culinary arts from the French Culinary Institute in New York City.
... Read More ≫{ get in touch }
{ what's new }
September 12, 2015
August 19, 2013
August 15, 2013
August 13, 2013
August 1, 2013
{ favorites }
{ archives }
Appetizers / Breads & Pastry / Breakfast / Cakes / Canning / Condiments / Dinner / DIY foods / Drinks / Fall / favorites / Grains / Holidays / Local / Noodles & Pasta / Pies & Tarts / Poultry / Salads / Seafood / Snacks / Soup / Spring / Summer / Sweets / Techniques / Vegetables / Vegetarian / Winter /
{ currently reading }
|


