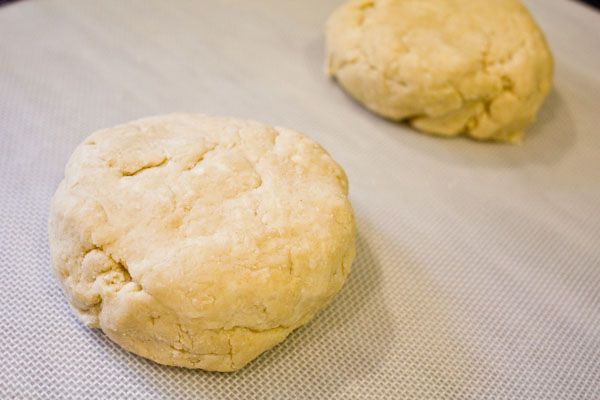
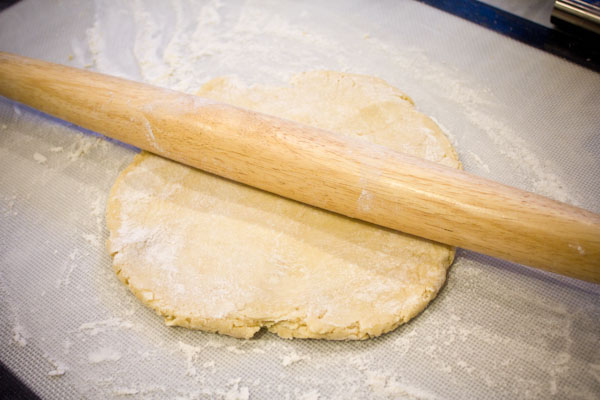
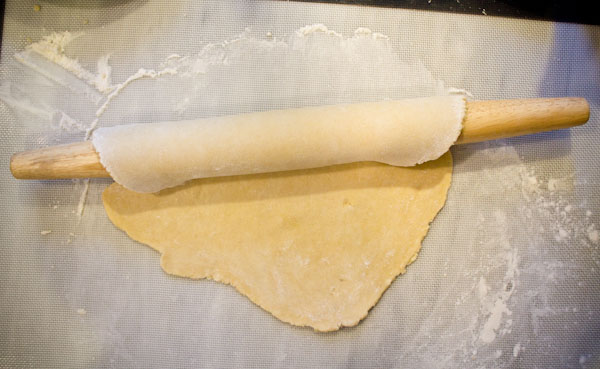
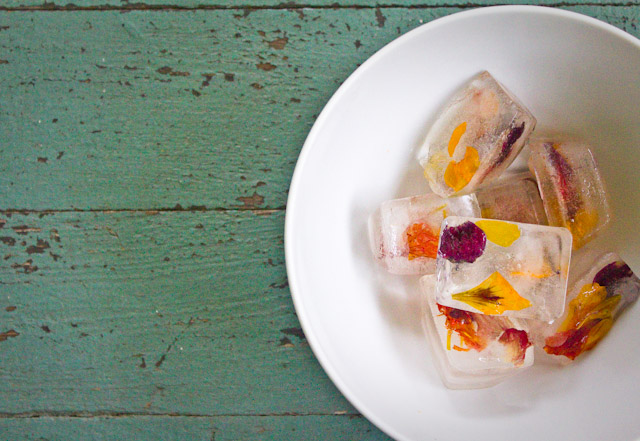
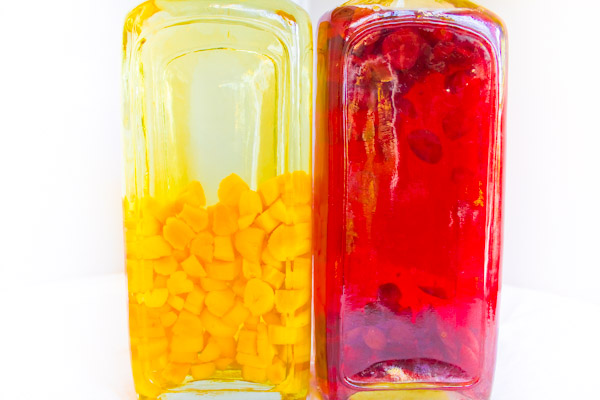
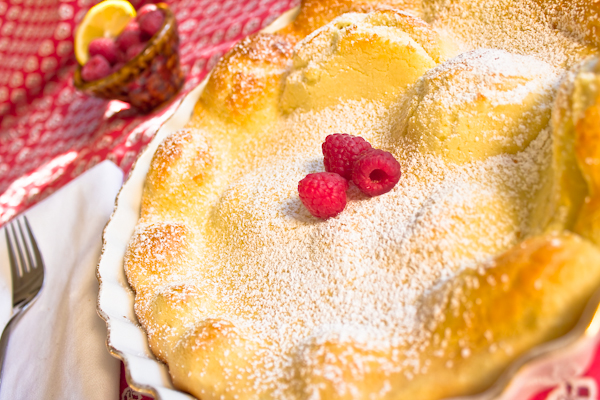
 There are few things that could get me to turn on the oven in the middle of this oppressive heat wave. However, much to the dismay of my panting dog, clafouti is one of them. Unlike almost everyone else in the country right now, the red and golden raspberries in our garden are adoring the heat. They have just started to really take off, offering up several pints a week. (That is, those that aren't stolen when I'm not looking, right off the thorny branches, by aforementioned panting dog). Clafouti ("klau-foo-tee") is a both rustic and elegant dessert, with a ridiculously fun to say name, that originated in the Limousin region in the southwest of France. It was traditionally made with cherries, as they had an abundance they had to figure out what to do with each summer, poor things. I learned of it from my well-loved, dog-eared copy of Julia Child's Mastering the Art of French Cooking, and was in love from the start. Further investigation revealed that when made with any other fruit other than the traditional cherries, it is actually not called Clafouti, but "Flaugnarde". Are you kidding me? I feel like those rogue Limousinians just came up with the most clumsy sounding word they could to shame the rest of the world into strict adherence to their recipe. My fancy, summer, whatever-berry-filled french dessert will be called clafouti, so there. (more…) | ||||||||||||||||
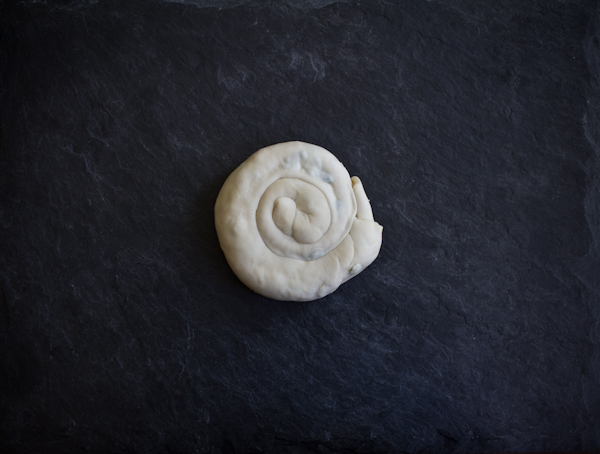
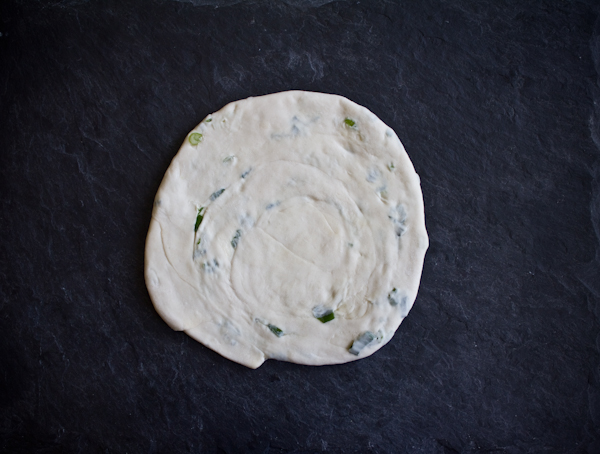
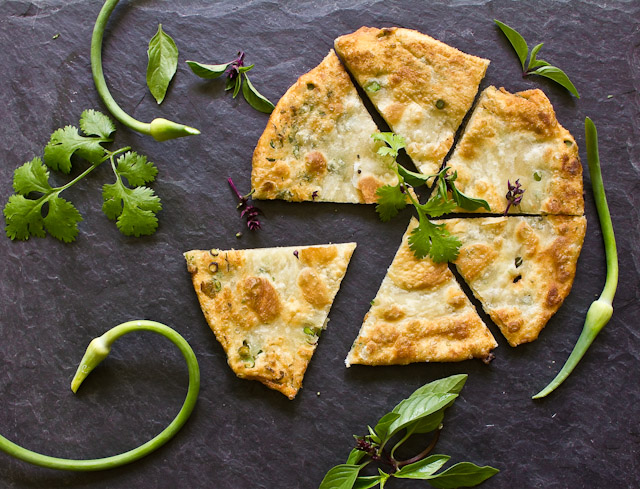 Move over scallions. I may have to cheat on you. My love affair with dim sum scallion pancakes is no secret. There are few times I can think of when they don't appeal to me. (or make me start to go all Pavlovian as I even type the words.) Though green and doing very well, the scallions planted in my garden are still about the size of glorified dental floss and won't be serving up any exotic savories for a few weeks. However, we do have garlic scapes! And herbs! Lots of both! Scallions? Who needs scallions? While not exactly a necessity, (more of an insatiable craving), mother invention shone down and offered up this bright, summery, mildly garlicky, herby, southeast Asian-inspired perfection on a greasy paper towel. There is a tremendous (and tremendously cheap) hole-in-the-wall dumpling shop in NYC's Chinatown, to which I make frequent pilgrimages. Alongside their dumplings, they have a monstrous cast iron pan in which they make a very similar sesame pancake. You can get a pizza-slice-sized wedge "stuffed with veggies" for $1.25, which is split laterally and crammed with shredded carrot and chopped cilantro leaves and stems. There was definitely some inspiration from there in this as well. Give these a try, using all that summer is offering up right now. Shredded zucchini, carrot or beet, torn squash blossoms, thyme, sage, thinly sliced chard could all be welcome additions. Fried dough + farm fresh herbs and produce = What could possibly be bad? (more…) | ||||||||||||||||
 a dog day of late spring. Sparkling Panakam: This recipe from Heidi Swanson's (101cookbooks.com) new book Super Natural Every Day Strawberry-Rhubarb Coffee Cake: This recipe was given to me by a great friend a year ago--a great friend indeed, as it came binder-clipped to a big paper bag full of homegrown rhubarb. The rhubarb went to very good use, but I still haven't had the chance to try this recipe. It came with a rave review and I can't wait. | ||||||||||||||||
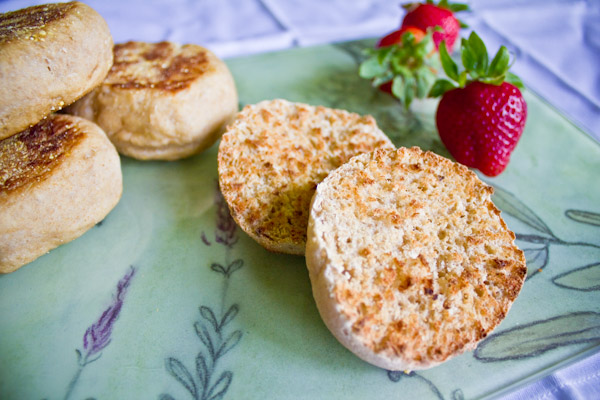 I don't know about you, but I am a tad worn out from all of the high-spirited holidays that have been crammed into the calendar as of late. Earth Day, Easter, Passover, National Eggs Benedict Day (I wish I was kidding), Arbor Day, May Day, Cinco De Mayo, and even a wedding of the century thrown in there. I'm feeling a little tapped out for brilliant ideas to mark this weekend's Mother's Day. So when in doubt, I go homemade. English Muffins, that is. I did some tinkering with the dough, including a few highly hockey puckable versions, and came up with one that has a full flavor and tender texture. The addition of buttermilk (ah-hem, something to do with all that you have leftover from making your own butter) gives these a wonderful sour flavor, not unlike (a shortcut) sourdough. The sourness, the sweet honey and the nutty wheat make these perfect for a slathering of oozy stinky cheese and a drizzle of honey or fig preserve, or use the bounty of the spring and smear on some strawberry rhubarb jam. English muffins have long been my favorite hamburger buns, and don't for get our national treasure (see above) Eggs Benedict. As with store bought english muffins, these are fine with a little butter right out of the oven, but really show their stripes when "fork split" (poke all around the side with the tines of a fork, to divide the top and bottom, and gently pull the top and bottom apart to reveal the nooks and crannies), and then lightly toasted to crunch up the hole-y texture. Make them a day or two before, toast them up, and bring them on a tray to the bedside of your favorite mom. Instruct her devour them with her pinky up, channeling the Duchess of Cambridge. English indeed. BUTTERMILK HONEY WHEAT ENGLISH MUFFINS Makes 18 three inch muffins or one dozen four inch muffins. 2 teaspoons active dry yeast 1/2 cup warm water 2 1/2 cups bread flour 1 1/2 cups whole wheat flour 1 teaspoon salt 1 1/4 cup buttermilk 1/4 cup honey cornmeal, for dusting Place the warm water in a small bowl and sprinkle yeast over the surface. Allow to sit for 5 minutes. Yeast will turn the water cloudy and the surface will froth some. In a large bowl, or bowl of a stand mixer, comine bread flour, wheat flour and salt. Make a well in the center of the dry ingredients and pour in yeast mixture, buttermilk, and honey. Either using your hands or the paddle of a stand mixture, combine the ingredients throughly, until you have a shaggy dough. Change to a stand mixer dough hook, or pour the dough onto a well-floured surface, and knead for 8-10 minutes. Form dough into a large ball. Lightly oil the inside of a large bowl. Place the dough in the bowl, turning gently to coat with oil. Cover lightly with a towel or plastic wrap and allow to rise in a warm place for sixty to ninety minutes. Gently stretch the dough into a "pancake" that is about a half inch thick, on a floured surface. Using a round biscuit cutter (you could also use a knife and just make square muffins), cut out muffin shapes and transfer to a piece of parchment dusted liberally with cornmeal. You can gently combine the "scraps" back together to cut out additional muffins. Just be careful not to squeeze out all of the air in the dough. Sprinkle tops of muffins with cornmeal, and cover loosely with plastic wrap. Allow to rise in a warm place for sixty to ninety minutes. Preheat oven to 350 F. Place a large, lightly oiled skillet, on medium to medium-high heat. Carefully transfer the muffins, so not to deflate the nooks and crannies, to the skillet and gently pan-fry until the bottom is golden brown, about 2 minutes. Carefully flip over to brown the top. As soon as each muffin is ready, transfer to a baking sheet in the oven, and finish baking. Transfer the muffins to the oven as they are ready, not waiting for the others to finish browning in the pan. Bake for 8-10 minutes, until the muffin sounds hollow when thumped with a finger on the bottom. Cool finished muffins on a baking rack. The english muffins will keep for about 4 days in an airtight container. To serve, fork-split, and toast. 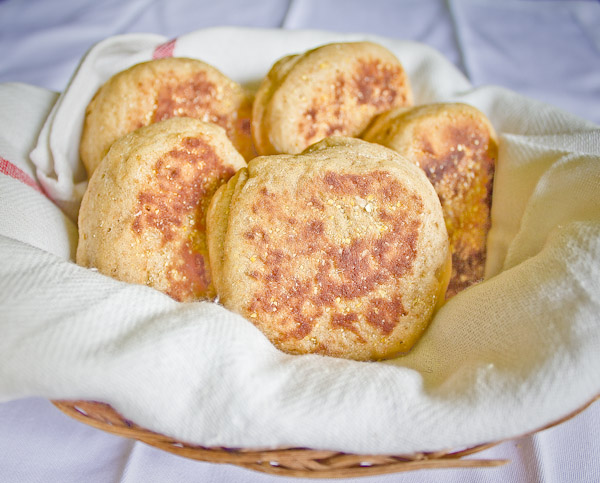 | ||||||||||||||||
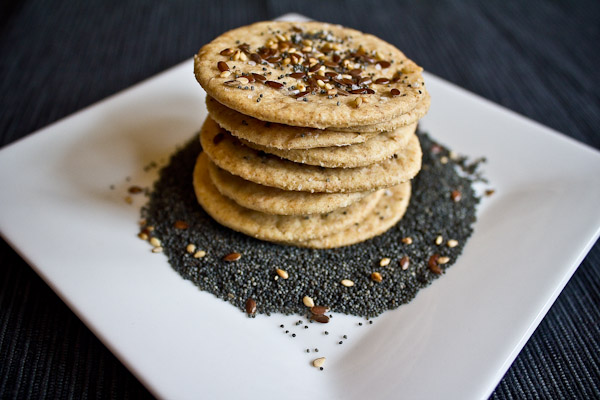
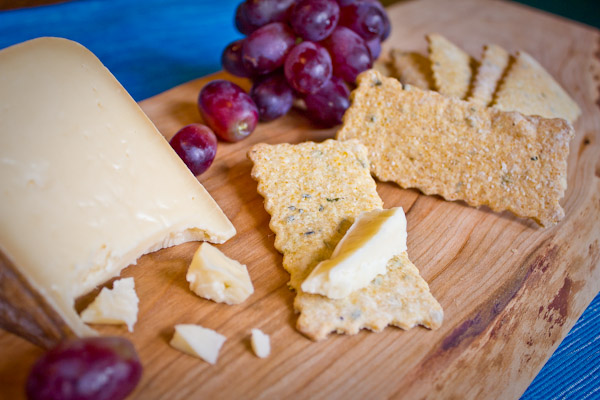
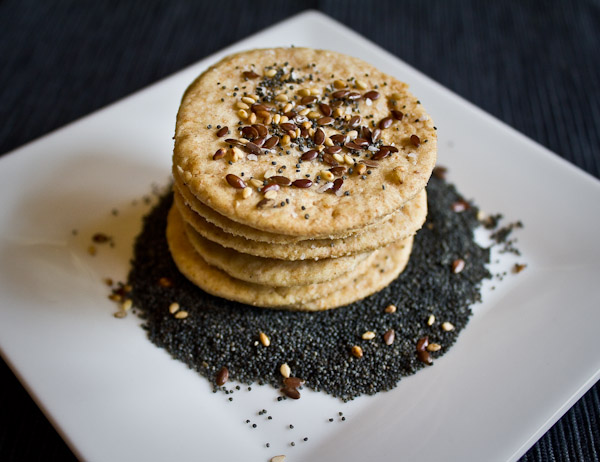 Here is another cracker recipe with which to send you off into the weekend! This recipe and the Cornmeal and Chive Cracker recipe from earlier this week contrast each other nicely, and would make a sublime little cracker basket assortment. This cracker is a little more subtle in flavor and more tender in texture than the other, so pairs nicely with soft, less powerful cheeses too. With or without the everything seed mix and this is a perfect, versatile, go-to cracker recipe to have in your bag of tricks.
 | ||||||||||||||||||||||
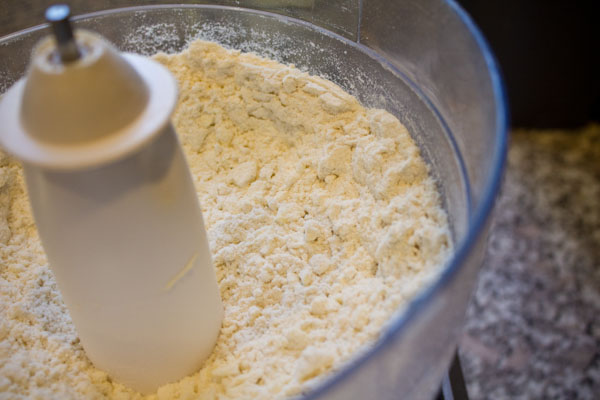
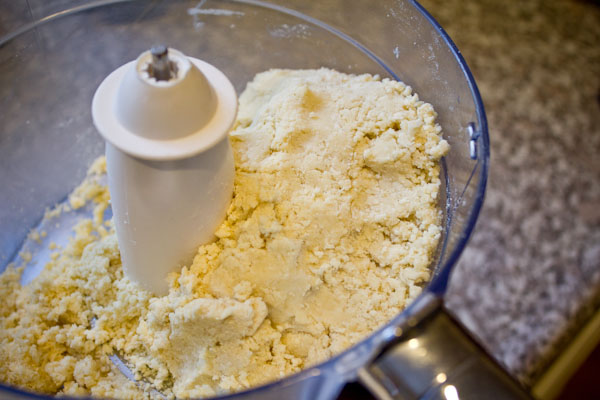
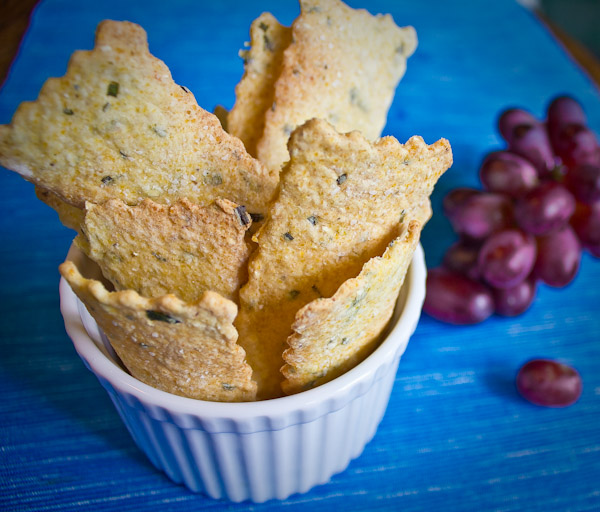 In my ongoing quest to eliminate store-bought processed foods from our kitchen and life, this week I tackled crackers. There is a long and growing list food items that I no longer even think of not making myself, and yet almost weekly I think nothing of tossing (overpriced) box after box of these crisp vices in my shopping basket. Growing up in shoreline Connecticut in the 80's "cheeseandcrackers" were a very big deal. Practically their own extracurricular activity. I vividly remember going to our immpeccable cheese shop on Main Street with my grandmother and picking out an appropriate assortment of contrasting cheeses and suitable cracker sidekicks for that weekend's cheese tray. I was always most intrigued by the layer cake-esque Huntsman cheese, consisting of stripes of Double Gloucester and Stilton cheeses. Carrying on in that early-ingrained tradition, we always have a nice piece or two of cheese on hand and a cupboard stocked with cracker choices for insta-entertaining. So with my long history with cheeseandcrackers, I am even more surprised that making my own crackers hadn't come up before (particularly with now making my own cheese from time to time). A remarkably easy project, offering a gazillion flavor possibilities, from as hearty and rustic to delicate and subtle as you want to make them. When picking out a special piece of carefully crafted cheese, you can decide exactly what vehicle will deliver this creamy treasure to your gullet. Doesn't your own cheeseandcrackers ritual deserve at least as much?
 | ||||||||||||||||||||||
I'm covered in flour and the entire house smells like warm bread. A good day by all standards.
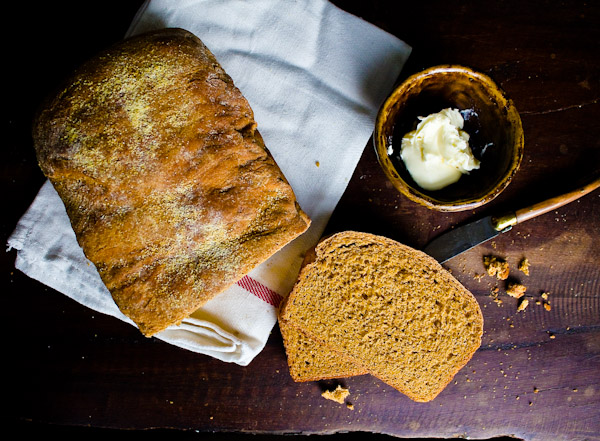 With slender baguette pans, gurgling jars of sourdough starter, and an array of silky flours, my father was a talented bread baker. One of his specialties, the one I hold dearest, was Anadama Bread. As a kid, the lore of the New England fisherman who threw his bowl of molasses-sweetened cornmeal mush at his bread baking wife, exclaiming "Anna, damn ya!", mixing the ingredients and thus giving birth to this accidental recipe was consistently intriguing, and consistently an excuse to use an unapproved word. But the flavor, aroma, and character of this bread, far outweighed it's value for smut-mouthed opportunities. With slender baguette pans, gurgling jars of sourdough starter, and an array of silky flours, my father was a talented bread baker. One of his specialties, the one I hold dearest, was Anadama Bread. As a kid, the lore of the New England fisherman who threw his bowl of molasses-sweetened cornmeal mush at his bread baking wife, exclaiming "Anna, damn ya!", mixing the ingredients and thus giving birth to this accidental recipe was consistently intriguing, and consistently an excuse to use an unapproved word. But the flavor, aroma, and character of this bread, far outweighed it's value for smut-mouthed opportunities.A yeasty moist bread, it is made hearty with the addition of cornmeal, and sweet and tangy with the addition of molasses. This is the quintessential eat at least a half a loaf slathered in butter right out of the oven as soon as it is cool enough to slice homemade bread. Chewy, with a pillowy crumb, this also makes the best, the best, toast. The sugars in the bread form a delicate crust all over the surface, providing just enough slight crunch before giving way to a slightly sweet supple center. It also makes an amazing sandwich. As it is baking, largely thanks to the molasses, the bread will perfume your home with a distinct comforting gorgeousness, certain to lay tracks for intense sense-memory experiences decades from now. As has absolutely proven true for me. (more…) | ||||||||||||||||
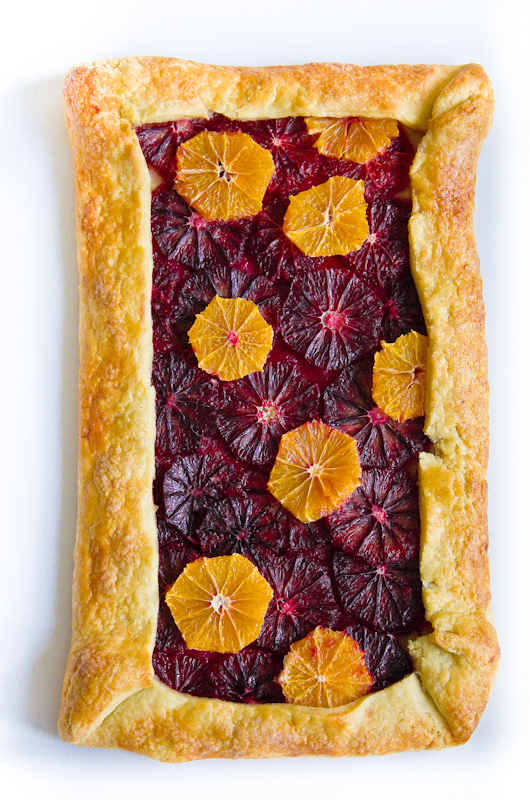 Soon after I finished culinary school a wise and wonderful chef and cookbook author asked me, as I was first meeting her, what kind of food do you cook? I was a little stumped. I was just out of a year of cooking little other than classical french cuisine. And a year of cooking predetermined recipes that I had to master, in order to learn said classical french cuisine. Eating locally, and seasonally, and knowing where my ingredients come from are always paramount when I cook, but beyond "farm to table", I didn't really have a ready response as far as my personal style with food. But after some introspection, I think at least one of my approaches to cooking, though perhaps somewhat obvious, is to get the finest possible ingredients, at the height of their season or freshness, from the best possible sources, and then: get out of their way. Or compliment their strengths that are already therein, rather than transforming or imposing. At least that's the goal. How can I possibly improve upon a homegrown, just-picked Jaune Flamme heirloom tomato, drizzled with exceptional olive oil This recipe does just that. Blood oranges are in season right now, and at the height of their glorious flavor. They are a stunning deep garnet color, with a taste that ranges from orange to raspberry to grape. A phenomenal homemade pastry crust, along with the roasted fruit, this galette reminds me a lot of my great grandmother's jam-filled thumbprint cookies, or a very sophisticated Pop-Tart. And brings some necessary brightness to a dull week of winter. (more…) | ||||||||||||||||
 I remember the first year freshdirect.com was operating they offered a somewhat genius valentine's day package. It was something along the lines of ready-to-cook surf and turf, fixings for chocolate fondue, a bottle of bubbly, and then parbaked croissants and orange juice for breakfast the next morning. One click, and you look like an exceedingly prepared and thoughtful superstar of a valentine. Whether you are cooking breakfast for your valentine on February 14th, or February 15th, or indulging in a weekly leisurely sunday brunch with the New York Times spread out around you, this recipe is perfect. I had many, many sleepovers at my grandparents' house when I was a child. Most mornings Nana (an amazing and adventurous cook, who ended up being my Maid of Honor) would make one of these magical puffy, eggy, warm breakfast crepes just for me. I felt so very special. I've seen them called dutch babies, German pancakes, and Bismarks, but on Nana's recipe card it says Breakfast Crepes, and so Breakfast Crepes it shall remain. (more…) | ||||||||||||||||
Scallion pancakes. Oh how I love thee.
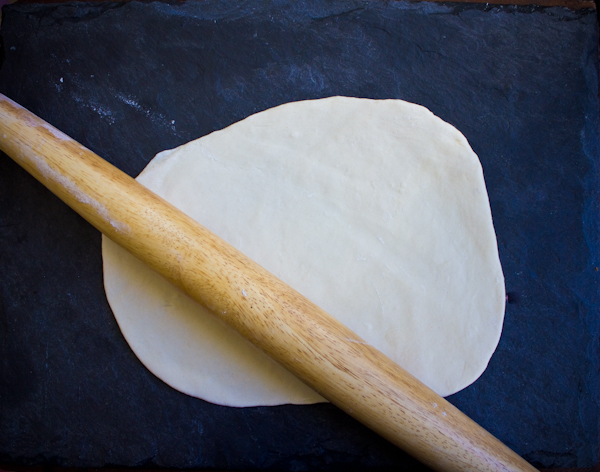
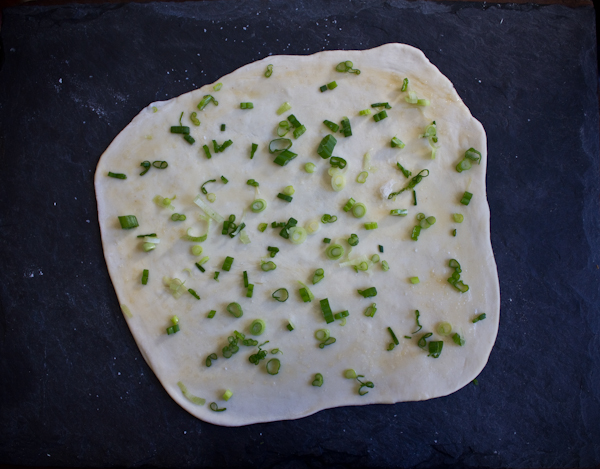
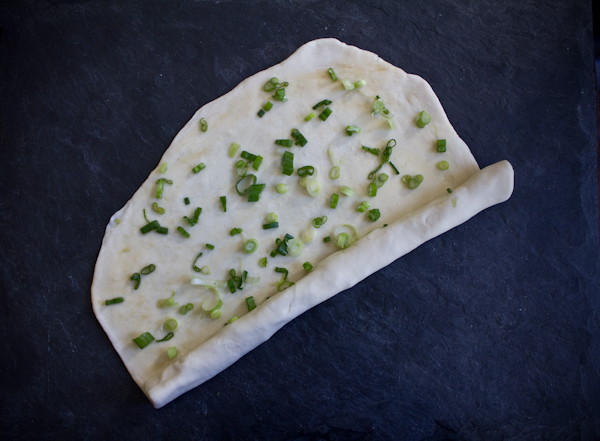
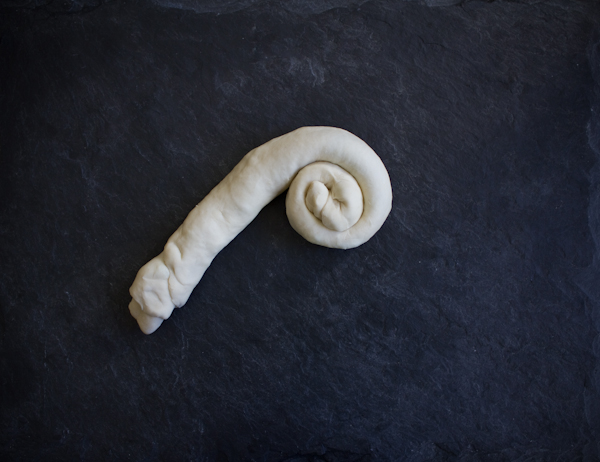
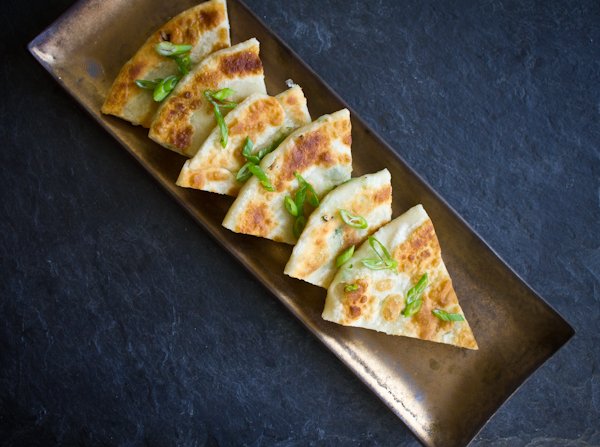 These remarkable, little chewy, salty, scallion-y, layered disks of oily crunchy heaven completely stole my heart when I first had them my first year living in the city a decade and a half ago. Often I would grab a late night snack of scallion pancakes and dumplings on my way home from rehearsal near midnight, back when my metabolism could handle such an indulgence. On our honeymoon in China three years ago, I stumbled upon a mirage-like goddess making scallion pancakes on a narrow back street in Beijing. 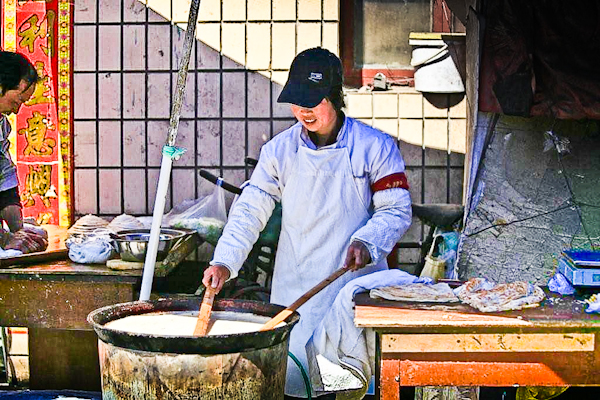 Just look at the size of that pan! We got a New York pizza slice-sized wedge (see the table on the right), wrapped loosely in wax paper, that the newlyweds pawed at, stopped dead on the street, like malnourished tiger cubs. Who got the last bite should have gone in a prenup. Too recently I discovered that these treasures are not all that difficult to make yourself--however dangerous it could be to embark upon in the privacy of your own home. Proceed with caution. The management is not responsible for the abandonment of any new year's resolutions. But if only in honor of Chinese New Year, give these a try. The rolled out, uncooked, pancakes can be layered in slightly floured wax paper and stored in the refrigerator wrapped in plastic for about twenty-four hours, and then finished in a frying pan for two minutes on each side. Do we hear a great Year of the Rabbit themed Super Bowl appetizer? 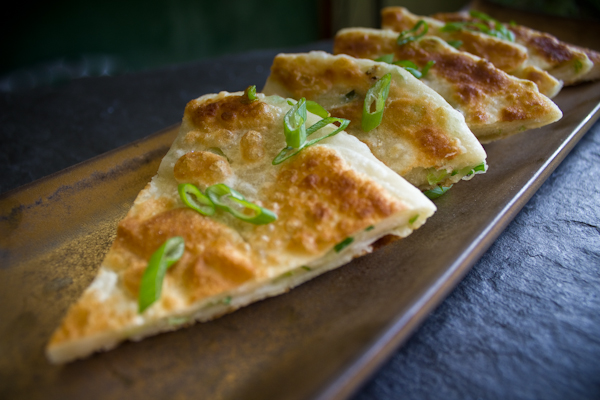 | ||||||||||||||||
It was announced yesterday that Mark Bittman's weekly column in the New York Times will end its thirteen year delicious, informative, enthusiastic, and encouraging run.
http://www.youtube.com/watch?v=kqChHSsf42c I have learned many lessons from Mr. Bittman's column. Starting in 1997, a year after I graduated from college, I cooked recipe after recipe from his writing and suggestions and road maps of seasonal dishes. His overarching philosophy of don't be intimidated, just get in the kitchen and make good, real food--"It's not rocket science"--is the cornerstone of what I deem most important in the work I do and what I am most trying to impart in this blog. His article The Well-Dressed Salad Wears Only Homemade in 2006, not only instantly convinced me to remove all store-bought salad dressing from my life, but also started my path of questioning any and all store bought food-stuffs. He sent my husband and I on a scavenger hunt through winding cobblestoned back streets of Genoa, Italy, and putting Genoa on our itinerary at all, because of his completely intriguing description of the hole-in-the wall greasy spoon, Trattoria Maria, as "one of my favorite restaurants in the world." It ended up being our favorite city of the trip---the trip on which we got engaged. His coverage of Jim Lahey's no-knead bread technique, sent me, and throngs of other eager cooks, out in search of hearty lidded cast iron cookware (according to the sales person at the Le Creuset outlet in Woodbury Commons: "Are you here because of The Bread?"), and got the country excited about making homemade bread. I encourage you to go back over his fun, relaxed and heartfelt collection of pieces, and cookbooks (How to Cook Everything, 2,000 Simple Recipes for Great Food Thank you, Mr. Bittman. Looking forward to what's next on the menu. A few of my favorites from the past years, that I return to again and again: Soto Ayam--Indonesian Chicken Soup with Noodles and Aromatics Chard Stuffed with Lemon Saffron Risotto and Mozzarella Chicken Biriyani 101 Simple Salads for the Season 101 Simple Appetizers in 20 Minutes or Less Almond-Apricot Granola Bars | ||||||||||||||||
|
{ welcome! }
 Catie Baumer Schwalb is a chef, food writer and photographer, who splits her life between the city and the country. Not too long ago Catie was a New York City based actress and playwright for more than a decade. She has her Master of Fine Arts from the National Theater Conservatory, and her Grand Diplôme in classic culinary arts from the French Culinary Institute in New York City.
... Read More ≫
Catie Baumer Schwalb is a chef, food writer and photographer, who splits her life between the city and the country. Not too long ago Catie was a New York City based actress and playwright for more than a decade. She has her Master of Fine Arts from the National Theater Conservatory, and her Grand Diplôme in classic culinary arts from the French Culinary Institute in New York City.
... Read More ≫{ get in touch }
{ what's new }
September 12, 2015
August 19, 2013
August 15, 2013
August 13, 2013
August 1, 2013
{ favorites }
{ archives }
Appetizers / Breads & Pastry / Breakfast / Cakes / Canning / Condiments / Dinner / DIY foods / Drinks / Fall / favorites / Grains / Holidays / Local / Noodles & Pasta / Pies & Tarts / Poultry / Salads / Seafood / Snacks / Soup / Spring / Summer / Sweets / Techniques / Vegetables / Vegetarian / Winter /
{ currently reading }
|


