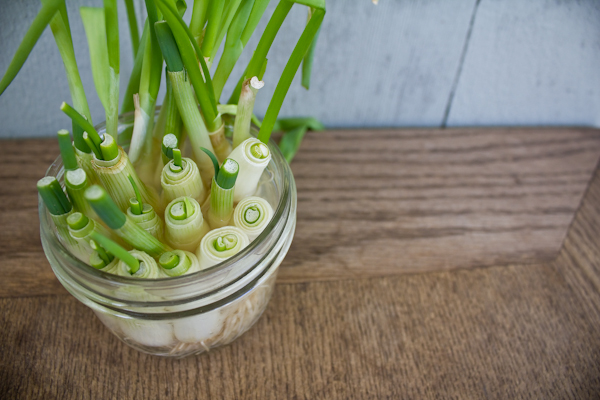
Full disclosure: in season or not, I use a lot of scallions. I love their subtle oniony vibe, pop of color, and exotic feel. I love their tubey shape and making thin cuts on an extreme angle for geometric garnishes. I love that they are equally useable raw or cooked. I LOVE them in my Homemade Scallion Pancakes and David Chang's Scallion Ginger Sauce from his Momofuku cookbook. So, each summer I faithfully devote an entire garden bed to growing my own scallions. And each year it is wildly unsuccessful. The seeds are microscopic, making it insanely difficult to evenly distribute them in the ground. When they do start to sprout up, in awkward clusters, they are the tiniest green threads, impossible to see and differentiate from the weeks that are intent on choking them out. But every year, I try, try again. So, cut to me on the subway a couple of weeks ago, overhearing a conversation between two adorable twenty-something hipsters, waxing poetic about the treasures on pinterest. Now I have not really explored pinterest, other than to see some referring pages that have come into my blog. And I have some mixed feelings about it from first glance. However, what I heard the DIYers going on and on about was the "growing scallions thing" on pinterest. Ok, I was curious and googled as soon as I got above ground. Apparently the scallion thing that has swept across the pinterestsphere, is the lesson that you can regenerate whole, perfectly edible scallions from the bottom tips that are usually cut off and tossed away. Yep. And I tried it. And yep. It works! Just place the root ends of scallions upright in about an inch of water and put in a sunny spot. In twenty four hours you will see some growth, and in just under a week they'll be full grown again. The only upkeep is to change the water every other day or so, which also helps cut down on any oniony smell. You can repeat the process three or four times with the same scallion tip. So excited to have a much more successful way of growing my own. And thrilled to add another vegetable to my eating local list--all year round. My apologies to the national scallion growers council.  | ||||||||||||||||
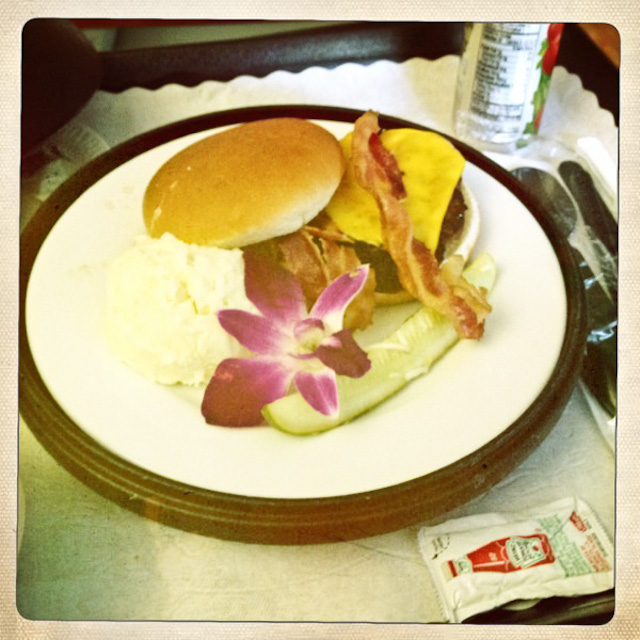
Food stylin'. A dendrobium orchid garnish on my tray of hospital food--my first solid meal after giving birth a few weeks ago. And yes, that is a bacon cheeseburger. Don't judge. It was a very long night. Well, I wouldn't have had a sudden long hiatus of blog posts, particularly through the biggest food holidays of the year, if I didn't have a very good reason. I gave birth to my first child, an astonishingly cute baby boy, in mid-November. Since then, time with both hands free to type and test recipes has been scarce. And I'm so enjoying taking some time to really relish all of these new beginnings. However, I am missing blogging for all of you a great deal, and will be back very shortly. In the meantime, you can also check in with me on twitter (@pitchforkdiary) and facebook (www.facebook.com/pitchforkdiaries). And I have my first (!) food piece in print in the winter issue of the gorgeous Green Door magazine. It is a tutorial on how to make preserved lemons, and this recipe for Pumpkin Tagine. I'd also love to hear any questions you have or what you'd like to see coming up. Please check back soon--great things are coming. Happy 2012! | ||||||||||||||||
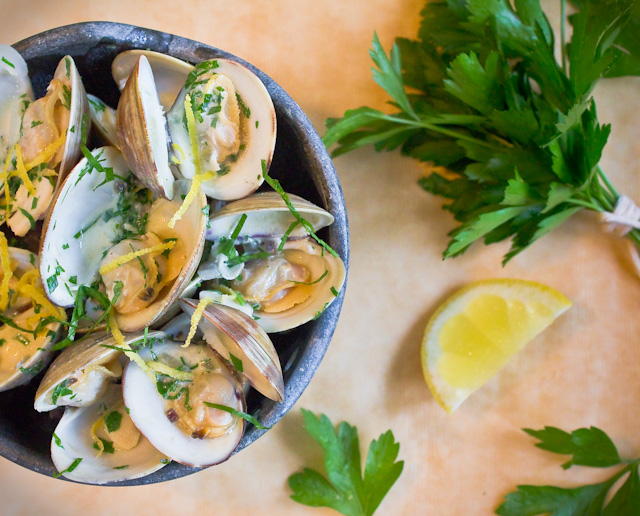
Here is an elegant meal or appetizer, that takes not more than minutes to whip up. Warm, rich and creamy, it is a great recipe to keep in mind for winter holidays. Serve it with crusty bread for soaking up the outrageously good sauce left behind, or serve the whole thing over pasta for a more substantial dish.
| ||||||||||||||||||||||
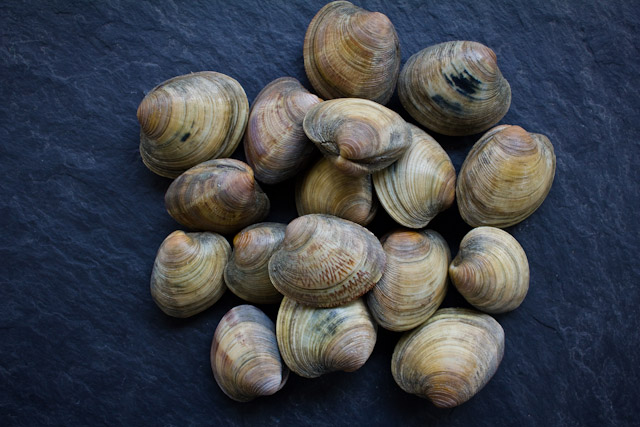 Not just for summer fetes on the beach, clams and other bivalves are a spectacular, and traditional, addition to the holiday table, and perhaps even more importantly, the holiday cocktail hour. A few critical steps can help insure a grit-free mouthful, and will dramatically reduce your chances of getting that one bad clam. Buying Buying the freshest seafood you can get is always the most important place to start, and the best way to help with this is to get to know the people at the seafood counter. If picking them out yourself, look for clams that are not chipped, cracked, or have a damaged shell in anyway. If buying them already bundled, discard any that are broken. Always buy a few more than you need in case of broken shells or clams that don’t open. Storing Store clams in a bowl in the refrigerator covered with a damp cloth. They can keep for a day or two, but the sooner you use them the better for all. Cleaning The day you want to cook them again go through all of the clams and discard any that have a damaged shell. (when in doubt…throw it out.). Scrub the outside of each shell thoroughly to remove any dirt. As you are going through, one by one, if you find a clam that is open, gently tap it on the counter. If it doesn’t close within a minute or two, it is dead and should be thrown out. This is a critical step, as it will look like all the others that have also opened, after they all cook, and yet could potentially make you sick. Any that are dead at the start need to go. Place all of the scrubbed clams in a large bowl, or the sink, and cover with cold water by an inch or two. Allow the clams to sit for twenty minutes in the water. The clams will spit out any grit they have inside their shell. Don’t leave them in the water for much longer than twenty minutes, or they will die. Remove the clams gently, by hand, from the bowl, leaving the dirt and sand behind at the bottom. Pouring them into a colander or scooping them out abruptly could stir up the grit and get it back in the shells. Cook as desired (more on this later this week.). And discard any clams that have not opened during the cooking process.  | ||||||||||||||||
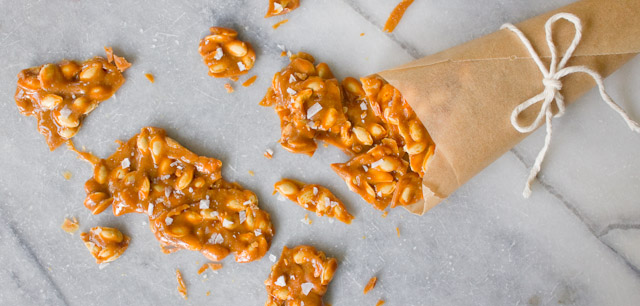
If you are going to rot your teeth out with sweets on this Halloween, why not do it with a sweet, savory, nutty, homemade confection, that also makes use of the often discarded remnants of jack-o-lantern carving?? There are many recipes for pumpkin seed brittle out there, but most use the raw, hulled seeds (or pepitas). Really wanting to use the seeds from my own carved pumpkin, instead of buying additional ones at the health food store, I did track down instructions to try to hull my own. It can be done, but was not wildly successful, or worth the effort, in my opinion. First you rinse off the seeds and thoroughly dry them out, which I did in a 250 degree oven for about 15 minutes. Then crack and smash the outer part of the seeds with a rolling pin, or in my case, a meat tenderizer. Then, place all of the seeds in a bowl, fill with water, swish them around vigorously, and theoretically, the inner seed kernels will sink and the outer shells will float to the top. Which did happen in my case, for about six of the seeds. The rest didn’t really get smashed effectively or broke in half completely, and I found myself picking each seed from its shell—not practical when I needed at least a half cup. So then, why not make brittle using the entire seed, which we eat anyway when making roasted pumpkin seeds? Success! And still getting to use our own seeds. And much easier. And the added bonus of ending up with a flavor almost identical to caramel corn, with some nutty seeds thrown in. Cracker Jack! So wishing you a very happy Halloween, and treat yourself to this treat very soon. (and all winter long with any winter squash seeds.) (more…) | ||||||||||||||||
|
|
{ welcome! }
 Catie Baumer Schwalb is a chef, food writer and photographer, who splits her life between the city and the country. Not too long ago Catie was a New York City based actress and playwright for more than a decade. She has her Master of Fine Arts from the National Theater Conservatory, and her Grand Diplôme in classic culinary arts from the French Culinary Institute in New York City.
... Read More ≫
Catie Baumer Schwalb is a chef, food writer and photographer, who splits her life between the city and the country. Not too long ago Catie was a New York City based actress and playwright for more than a decade. She has her Master of Fine Arts from the National Theater Conservatory, and her Grand Diplôme in classic culinary arts from the French Culinary Institute in New York City.
... Read More ≫{ get in touch }
{ what's new }
September 12, 2015
August 19, 2013
August 15, 2013
August 13, 2013
August 1, 2013
{ favorites }
{ archives }
Appetizers / Breads & Pastry / Breakfast / Cakes / Canning / Condiments / Dinner / DIY foods / Drinks / Fall / favorites / Grains / Holidays / Local / Noodles & Pasta / Pies & Tarts / Poultry / Salads / Seafood / Snacks / Soup / Spring / Summer / Sweets / Techniques / Vegetables / Vegetarian / Winter /
{ currently reading }
|


