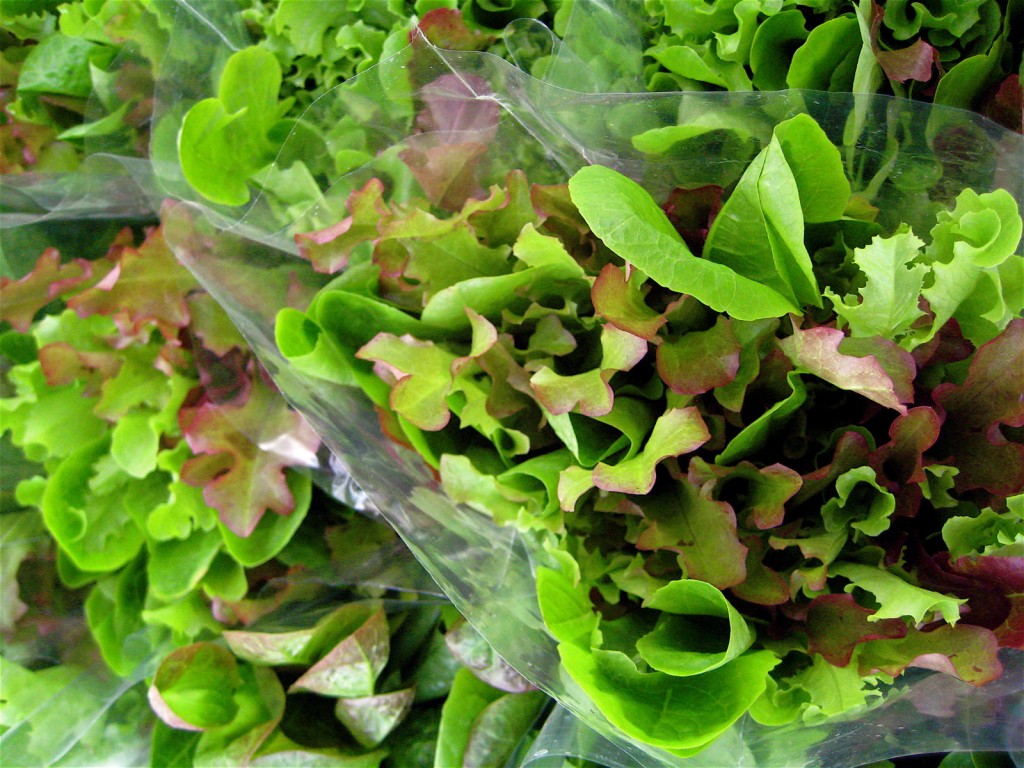
 Some of the earliest cold-resistant crops available in the spring (or earlier if you have a farmer who has a fancy-schmancy greenhouse), fresh, vibrant salad greens are popping up now at farmers' markets. That first, crisp, lightly-dressed bowlful always feels like such an extraordinary luxury after months of pots of piping-hot long-simmered root vegetables and squash. These leaves tend to be delicate, and depending on the variety, sometimes a bit costly. So here are a few tips to help insure you get every last bite for your buck. Washing Your lettuces and spinach, particularly from a farm stand, can often have a fair amount of dirt on the leaves and stems. Place all the greens in a large bowl and fill with cold water. Agitate the leaves gently with your hand, and allow the leaves to float up and the dirt to sink down. Carefully skim the greens off the top of the water, leaving the dirt behind. Repeat a few times, if necessary. Storing After cleaning, dry your greens thoroughly. I think a salad spinner Blow a little breath of air into the bag before sealing tight. The carbon dioxide from your breath helps to slow down the deterioration of the leaves, and the extra padding of air will keep them from getting crushed in the fridge. Depending on the type of green, the leaves should be good for a week or two stored like this, but ideally use them much sooner for optimal flavor and nutrients. And Refresh... If your leaves emerge from storage and look a little less than lively, you can refresh them some and add a little crispness back. Fill a large bowl with very cold water. Place leaves in the water and soak for 5-10 minutes to basically rehydrate. Dry thoroughly, and either serve immediately or chill in the refrigerator for a couple of hours until ready. This also works great to get a few extra days out of fresh herbs, or for greens picked from your garden in warmer weather, that seem to wilt by the time they make it to the house. Here's to many happy salad days in the months ahead. | ||||||||||||||||
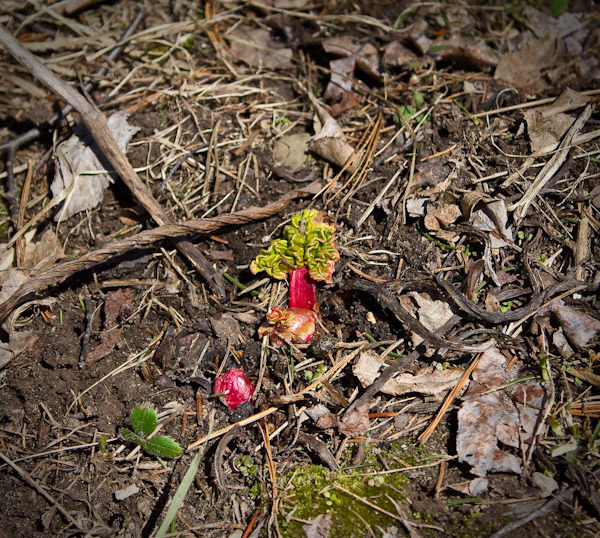 The first inch and a half of Victoria rhubarb poking up from the muddy March ground. Pies and jams to follow. | ||||||||||||||||
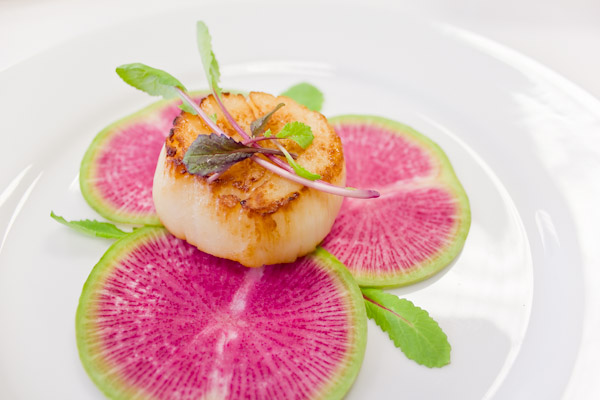
Here's a great little dish using those irresistable watermelon radishes and microgreens now growing at a farmers' market near you. Ready in under a half hour, this would be a deceptively easy, super impressive first course for a local-chic dinner soiree. Or triple the scallops, and pair it with cool buckwheat soba noodles dressed with sesame vinaigrette and sprinkled with additional microgreens for a light and springy main course. Either way it uses some of the best items our farmers are offering up at this moment. And after months and months of braised root vegetables, some very welcome fresh leafy crunchy variety.
[caption id="attachment_2004" align="aligncenter" width="600"] 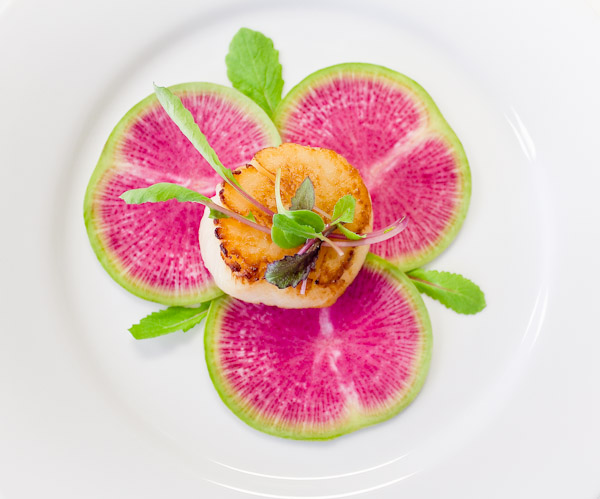 http://www.pitchforkdiaries.com/2011/03/25/pan-seared-sea…crogreen-salad/[/caption] http://www.pitchforkdiaries.com/2011/03/25/pan-seared-sea…crogreen-salad/[/caption] | ||||||||||||||||||||||
 Micro Mesclun from Windfall Farms, Union Square Greenmarket, NYC. Spring is here, and the farmers' market offerings are slowly transitioning from squash, root vegetables, and cold storage foods to fresh spring produce in the weeks ahead. One of the first fresh spring finds to look for are microgreens.
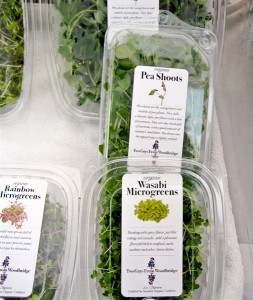
Arugula, lettuces, beets, radish, and kale are very commonly used for microgreens, but cilantro, basil and wasabi are available for a really exciting addition. They are used frequently as a fancy-schmancy garnish in restaurants, offering great color and texture, in addition to a burst of flavor on the top of a dish. But use them at home for a delicate little salad, to top off a piece of grilled seafood, or anywhere you want to add a small bit of freshness without overpowering a recipe with large greens leaves. They are thin and delicate, so are perfectly tender just eaten raw. Keep an eye out for them at the market, or grow your own in some seed flats in your window until the weather gets a little warmer, and then set aside a micro-patch of garden for the rest of the season. Ready in just over a week, I've planned ahead for dinner parties, planting seeds a week or so prior, and snipping fancy-schmancy garnishes of my own hours before my guests arrive. Impressive? Yes. Easy? Yes. Flavorful, healthy, and fun on plate? Yes, yes and more yes. Gruyere and leek tartlette with homegrown arugula microgreens. | ||||||||||||||||
"In the spring, at the end of the day, you should smell like dirt." -Margaret Atwood | ||||||||||||||||
|
|
{ welcome! }
 Catie Baumer Schwalb is a chef, food writer and photographer, who splits her life between the city and the country. Not too long ago Catie was a New York City based actress and playwright for more than a decade. She has her Master of Fine Arts from the National Theater Conservatory, and her Grand Diplôme in classic culinary arts from the French Culinary Institute in New York City.
... Read More ≫
Catie Baumer Schwalb is a chef, food writer and photographer, who splits her life between the city and the country. Not too long ago Catie was a New York City based actress and playwright for more than a decade. She has her Master of Fine Arts from the National Theater Conservatory, and her Grand Diplôme in classic culinary arts from the French Culinary Institute in New York City.
... Read More ≫{ get in touch }
{ what's new }
September 12, 2015
August 19, 2013
August 15, 2013
August 13, 2013
August 1, 2013
{ favorites }
{ archives }
Appetizers / Breads & Pastry / Breakfast / Cakes / Canning / Condiments / Dinner / DIY foods / Drinks / Fall / favorites / Grains / Holidays / Local / Noodles & Pasta / Pies & Tarts / Poultry / Salads / Seafood / Snacks / Soup / Spring / Summer / Sweets / Techniques / Vegetables / Vegetarian / Winter /
{ currently reading }
|


