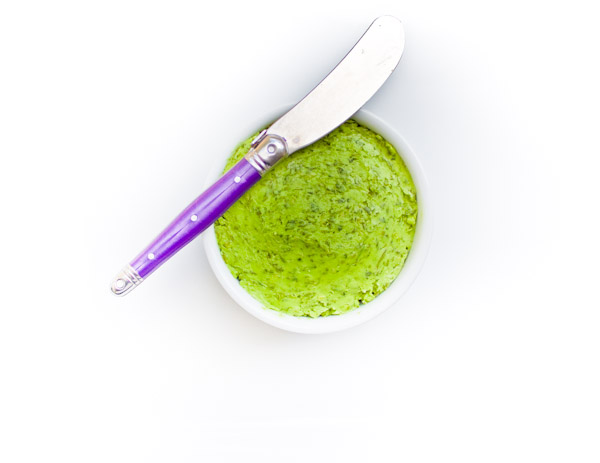
 A huge part of the allure of pungent, earthy, and exotic ramps, is that their season and availability is so fleeting. With only about a month to harvest until their flavor becomes too strong, the annual pilgrimages into the muddy woods for chefs and epicurians has commenced (or early-bird trips to the farmer's markets for the less adventurous, or more wise). But now also begins the search for ways to preserve ramps, to be enjoyed alongside the bounty of summer produce that is just a couple of months out of reach. I am a big fan of pickling ramps (and of pickled ramp martinis). This offers a great way to preserve ramps for months from now, if you can keep them around that long. I have also become smitten with ramp compound butter. Compound butter is nothing more than butter that has been mixed with herbs or seasonings, but the whole is much more exciting than the sum of its parts. It is a great way to add a little unexpected flavor or color to a meal, or to create an instant pain-free sauce for a dish. Now that you've mastered homemade butter, this is a perfect way to compliment your new home-spun delicacy. The flavored butter can be packed into a small ramekin or dish for slathering on warm bread, or rolled into logs, chilled and sliced. Top a hot grilled steak with a slice of ramp butter, and ooh la la. It is also beautiful on grilled fish, vegetables, dolloped on grilled oysters, or stuffed under the skin of a roast chicken. Try it when making scrambled eggs, whipped into mashed potatoes or polenta, or tossed with pasta and some grated pecorino. It will keep for several months in the freezer, giving you lots of opportunities to use ramps with foods that the weather isn't cooperating with just yet. Experiment and enjoy, and be the envy of all your foraging friends when their ramps have long run out.  RAMP COMPOUND BUTTER 1 lb unsalted butter 4-6 ounces ramps, white and green parts, depending on how concentrated you desire the ramp flavor zest of one large lemon salt, to taste Bring butter to room temperature to fully soften. Trim root end and wash ramps thoroughly, making sure to remove all dirt and grit in the layers near the root. Bring a pot of heavily salted water to a boil, and prepare a bowl of water with lots of ice. Blanch ramps in boiling water, for 30 seconds. Remove quickly and shock in the ice water to stop the cooking and preserve the bright green color. Drain and squeeze out as much water as possible. Spread ramps out on paper towel to allow to dry a bit more. Either thinly chop by hand, or mince in a food processor, the white and green parts of the ramps. Add lemon zest and then combine with softened butter. If you want a more uniform, very green, butter, puree it all together in a food processor (as in the photo of the butter above). If you want a more chunky, rustic butter, either fold the butter in by hand or use the paddle attachment of a stand mixer. Add salt, tasting as you go, if you want salted butter. If you think you'll be adding it to foods that are already sufficiently salted, perhaps don't add any or very little just to enhance the ramp flavor slightly. Pack compound butter into ramekins, small dishes, or air-tight containers and store in the refrigerator for about a week. You can also roll the butter into logs, either in parchment, wax paper, or plastic wrap, to be chilled and sliced. The compound butter can also be frozen for up to three months. Thaw in refrigerator overnight before serving. Recipe credit: Catie Schwalb. | ||||||||||||||||
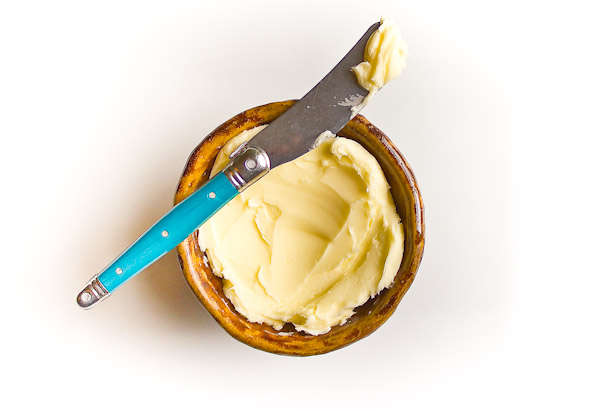 Ever since the first time I whipped my own fresh whipped cream, I have kept my gaze obcessively glued to it, in dreaded fear of over-whipping and having it turn into butter. The horror! Imagine! And so to this day I anxiously sweat that critical make or break, stiff peak to useless butter, moment. But wait...I can turn cream into butter? Thus making my own butter? And that easily? Well, yes, yes, and yes. I finally gave it a try this week, gleefully letting my mixer plow right through from beautiful lofty whipped cream to deflated heavier looking cream-paste to cheerful little golden globules of butter separating from ivory buttermilk. And all in about ten minutes. The transformation was kind of thrilling, and the result revelatory. A pint of heavy cream yielded about 6.5 ounces of butter and a cup and a half of buttermilk. Pound for pound this is will end up being a bit more costly than store-bought. However, I found the taste superior and just fresher all around, and it didn't have the "natural flavorings" that I just noticed on the ingredient list of my butter package. I cannot wait to try it with the outstanding, abundantly flavorful, local cream from farmers at the markets. There are also plenty of times when I have bought heavy cream for a recipe, or had extra whipped cream left over from a dinner, and wish I had used it to whip up some butter, rather than having it sit in my refrigerator waiting for another recipe to come up. This is a remarkably easy process and tremendously satisfying. Of all of the challenging and technical cooking projects I have attempted it is amazing that I haven't tried this before, as it is most definitely simpler than most. Give it a try. Slip some on the table at your next gathering. "Oh that? I just whipped that up." (more…) | ||||||||||||||||
"Good bread is the most fundamentally satisfying of all foods; and good bread with fresh butter, the greatest of feasts."
- James Beard | ||||||||||||||||
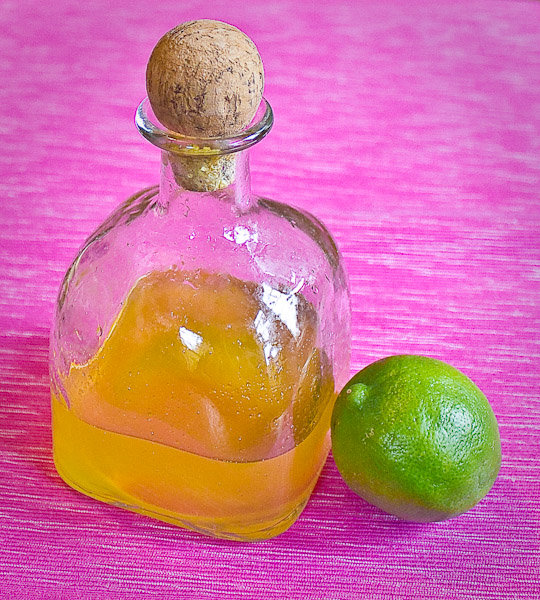 Here is another soda syrup recipe to accompany yesterday's homemade ginger soda syrup. Super refreshing and light, making me crave flip flops and sunscreen. Try mixing a little of both syrups together for mango-lime-gingerlicious beach blanket bingo in a glass. Who says it's only april? HOMEMADE MANGO LIME SODA SYRUP by Catie Schwalb makes approximately 1 1/2 cups. 1 mango, peeled, and roughly chopped, save the pit 1 cup of sugar (you may decide to use much less, depending on how sweet and ripe your fruit is) 2 cups water 2 limes, juice (about 3 tablespoons) and zest fine strainer cheesecloth Place mango, mango pit, sugar, water, lime juice and zest in a small pot. Bring to a gentle boil, and the turn off heat. Allow to steep and infuse for thirty minutes. Return the mixture to a gentle boil, and reduce the syrup by about half, until it is a slightly thicker consistency. Remove from heat and allow to cool Strain through a fine strainer lined with cheesecloth. Squeeze cheese cloth to extract any remaining juices. Refrigerate for up to one week. Mango Lime Soda: Mix 1 part soda syrup with 5 parts seltzer | ||||||||||||||||
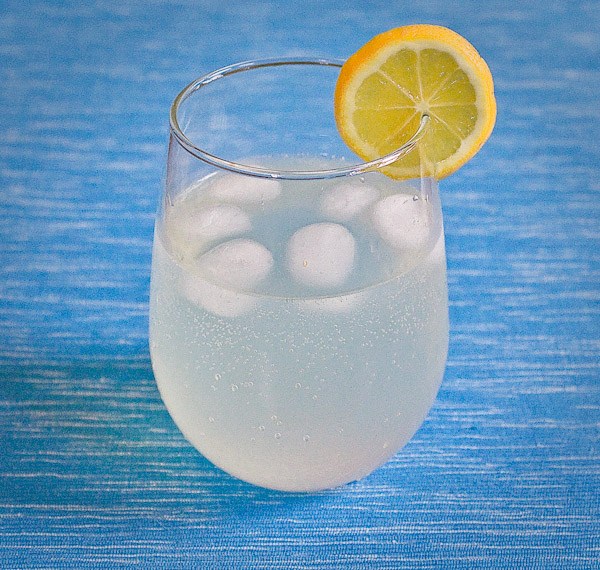 Perhaps because of the few (very few) days of slightly decent weather we've had lately, my attention has recently shifted from hot teas and afternoon hot mochas to cold, effervescent beverages. We are not big soda drinkers in our house, almost none at all, for all of the obvious reasons (high fructose corn syrup, chemicals, artificial colors,and the environmental impact of all of the packaging and distribution.) But a small spell of stomach queasiness that my husband and I both shared not too long ago (lovely), had me at the grocery store searching for ginger ale, or even better a more gingery ginger beer, sans HFCS and with real ginger as an ingredient. After not an easy time I did find a couple of options, but all ended up being too sweet for my liking. I've been following the blog and success of Brooklyn's P&H Soda Co., a small artisanal producer of all natural, small batch, soda syrups, for a little while now. With flavors including hibiscus, lime and cream, I can't wait for my next time in the city to pick up some at one of their new retail locations. But it also occurred to me that with my flail at the grocery store, and with summer gatherings-on-the-porch weather quickly approaching, perhaps I should just get myself in the kitchen and try to figure out the whole shebang, or at least part of the shebang, myself. The result made me and my stomach very happy. And like so many of my DIY endeavors, was ultimately not difficult, offers endless delicious possibilities, and has everything I want and nothing I don't. I mixed the gorgeous syrup with seltzer for an outstanding ginger soda. (A side note, we have owned the SodaStream home seltzer maker The best part of all is that you can control the sweetness, by adding more or less sugar to taste, and the ka-pow of the soda, by adding more or less syrup to your seltzer. Experiment, concoct and enjoy. 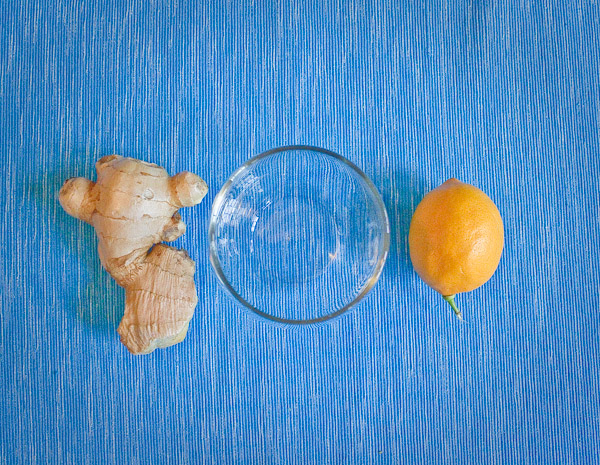 HOMEMADE GINGER SODA SYRUP by Catie Schwalb 1 cup sugar 1 cup fresh ginger, peeled and coarsely grated on the large holes of a box grater 2 cups water 1 tablespoon lemon juice fine strainer cheesecloth TIP: To peel ginger, wash and then use the front of a small spoon to scrape away the thin peel. It will come off easily and a vegetable peeler tends to remove too much of the ginger meat. Grate the ginger, and gently transfer it to a saucepan, careful not to squeeze out or lose any of the flavorful juice in the process. Add the sugar, water, and lemon juice to the ginger. Bring mixture to a gentle boil and turn off heat. Allow mixture to steep and infuse for thirty minutes. Return the ginger mixture to a gentle boil and reduce it by about half, until it has a slightly thicker, more syrupy consistency. This is just really evaporating the extra water, and adjusting how concentrated you want the syrup to be, so go as long or short as you want, but do not let it cook so long that the syrup starts to get very thick, turn amber in color and caramelize. Remove from heat and allow syrup to cool. Strain through a fine strainer lined with cheesecloth. Squeeze cheesecloth to extract any remaining juices. Refrigerate for up to a week. For ginger soda: Combine 1 part ginger syrup with 4 parts seltzer, or more or less to taste. | ||||||||||||||||
|
|
{ welcome! }
 Catie Baumer Schwalb is a chef, food writer and photographer, who splits her life between the city and the country. Not too long ago Catie was a New York City based actress and playwright for more than a decade. She has her Master of Fine Arts from the National Theater Conservatory, and her Grand Diplôme in classic culinary arts from the French Culinary Institute in New York City.
... Read More ≫
Catie Baumer Schwalb is a chef, food writer and photographer, who splits her life between the city and the country. Not too long ago Catie was a New York City based actress and playwright for more than a decade. She has her Master of Fine Arts from the National Theater Conservatory, and her Grand Diplôme in classic culinary arts from the French Culinary Institute in New York City.
... Read More ≫{ get in touch }
{ what's new }
September 12, 2015
August 19, 2013
August 15, 2013
August 13, 2013
August 1, 2013
{ favorites }
{ archives }
Appetizers / Breads & Pastry / Breakfast / Cakes / Canning / Condiments / Dinner / DIY foods / Drinks / Fall / favorites / Grains / Holidays / Local / Noodles & Pasta / Pies & Tarts / Poultry / Salads / Seafood / Snacks / Soup / Spring / Summer / Sweets / Techniques / Vegetables / Vegetarian / Winter /
{ currently reading }
|


