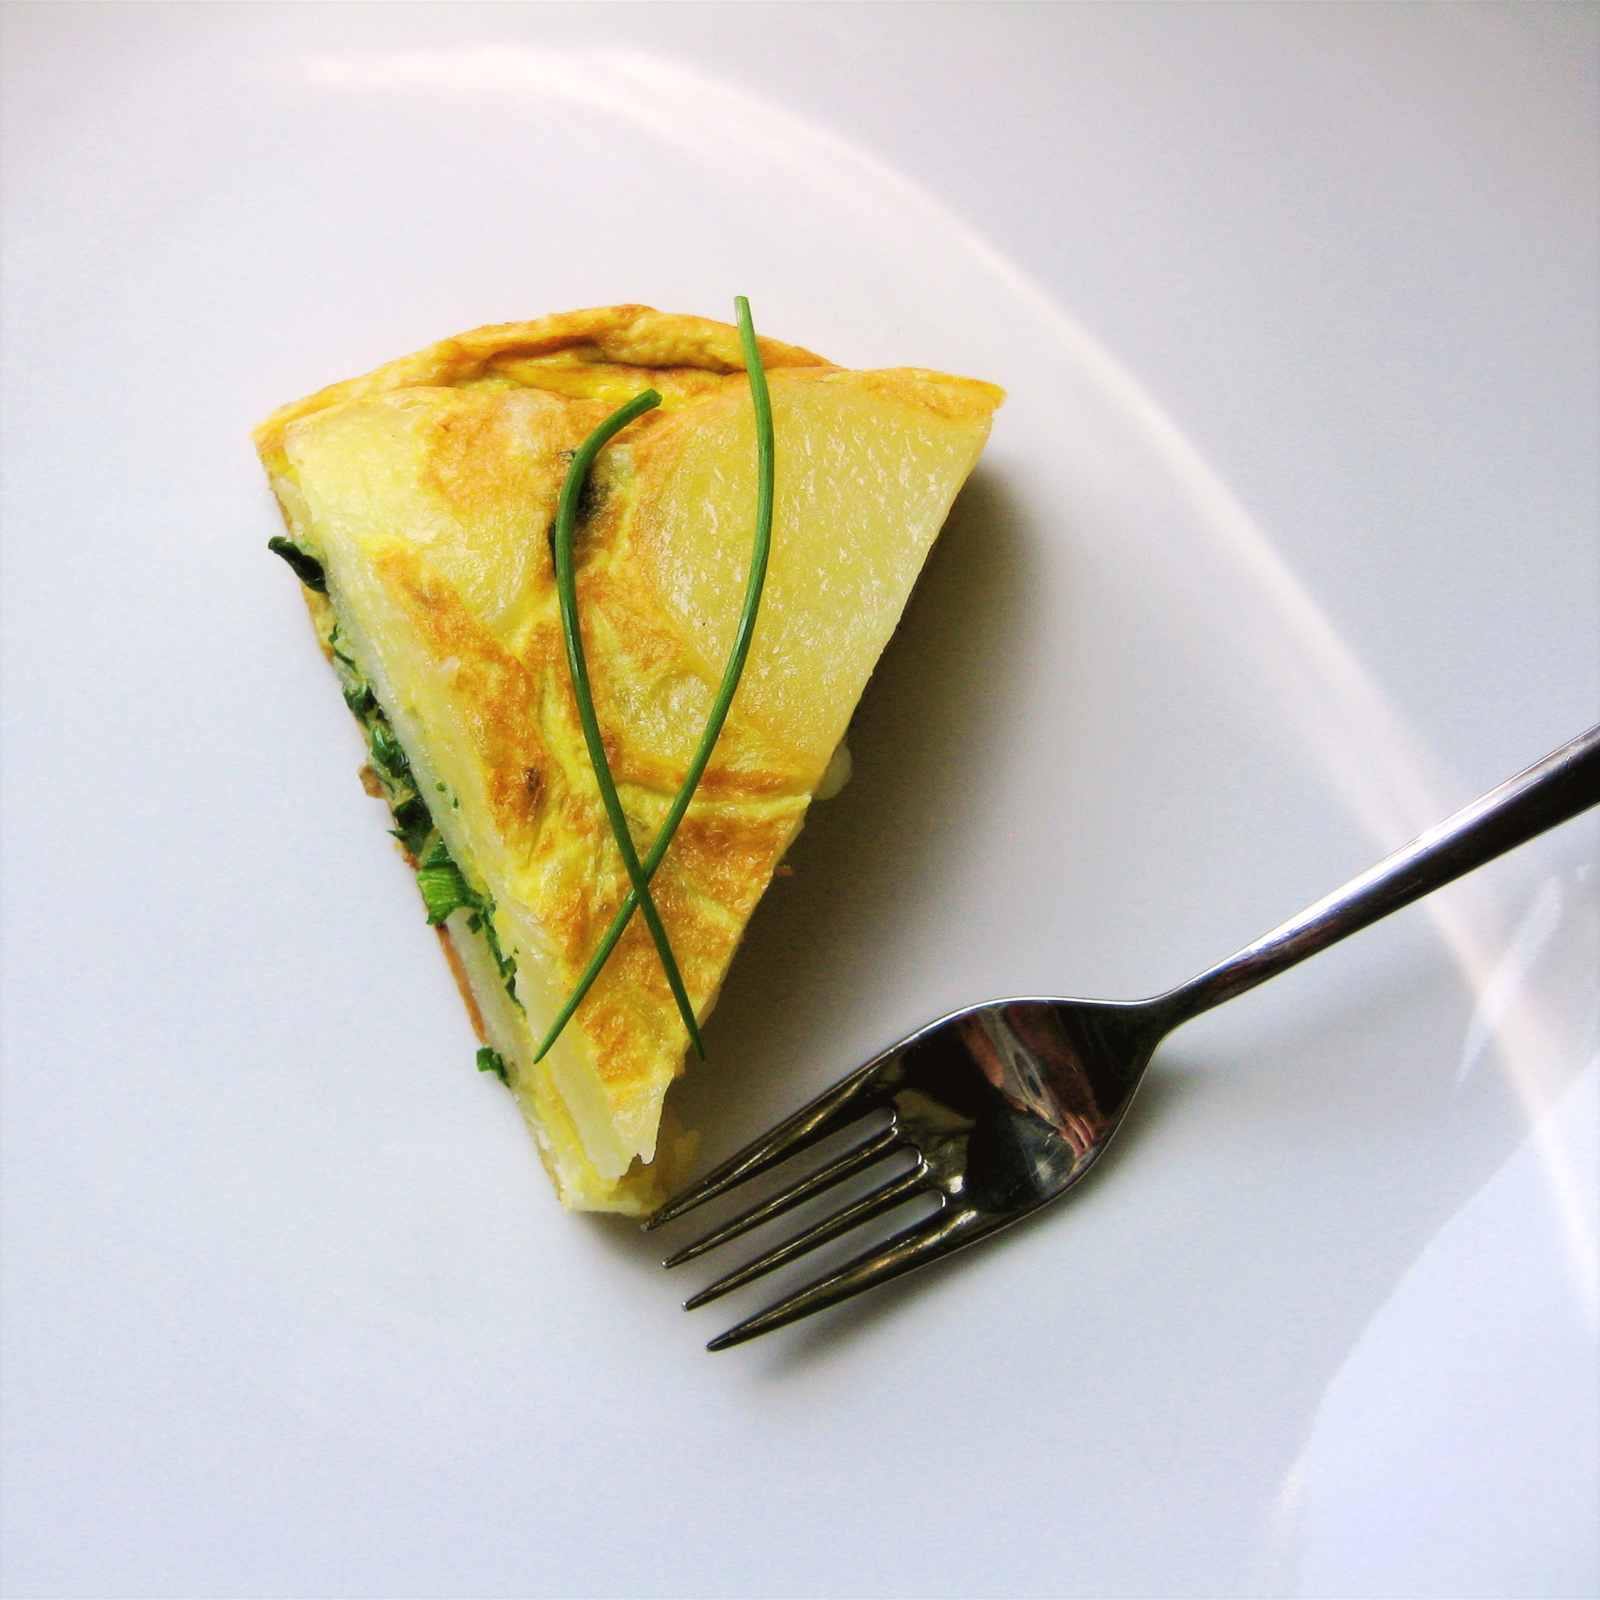
Ummmm...eggs...ramps...potato...
 When my brother returned from his junior year in Spain, he craved the egg tortilla espanola found on the counter at most tapas bars and eateries. It also happened to be one of my favorite recipes I learned in my "egg" lesson in my first weeks in culinary school (thank you Chef Justin). The farmer who I get my ramps from, Rick Bishop, has mentioned to me a few times how much he likes to cook ramps and eggs together. With a good amount of my own foraged ramps still left, this turned out to be a great combination.
 | ||||||||||||||||||||||
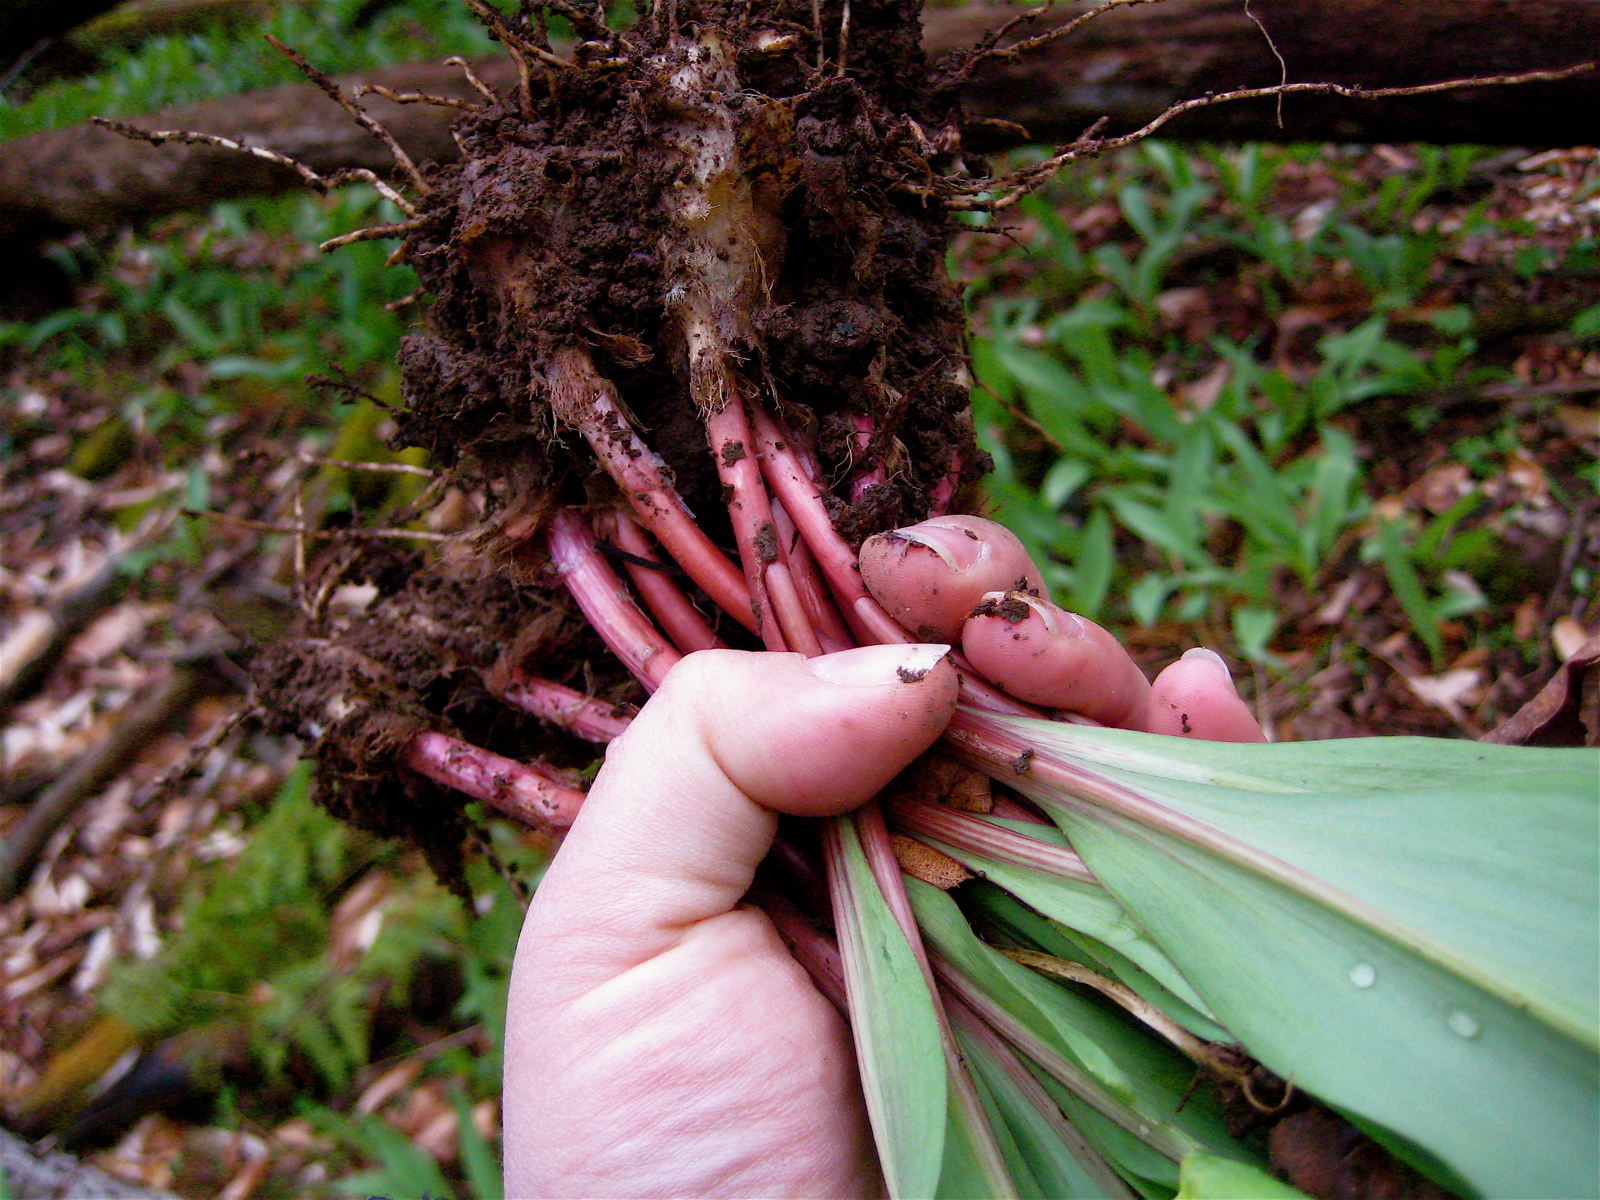 This past weekend friends who live near us upstate, on an area overrun with ramps, graciously invited us over for our second annual swap of all-we-can-pick ramps for a pick-up truck full of our "like gold" sheep manure for their garden. (So very cutting-edge-hipster-locavore. Then again, poop for weeds...) After a very muddy morning, we brought home two substantial garbage bags of ramps with their roots and soil intact, to transplant to our woods, and a very generous shopping bag of loose ramps to cook and eat. I got to work on a big batch of these slightly hot, slightly sweet, bright and tangy pickled ramps that night. I am now addicted, and looking forward to ice cold pickled ramp martinis later this summer. Oh, and picked ramps also go brilliantly with fish and roasted meats, on sandwiches, or alongside cheeses and charcuterie.
 | ||||||||||||||||||||||
It is that time of year.
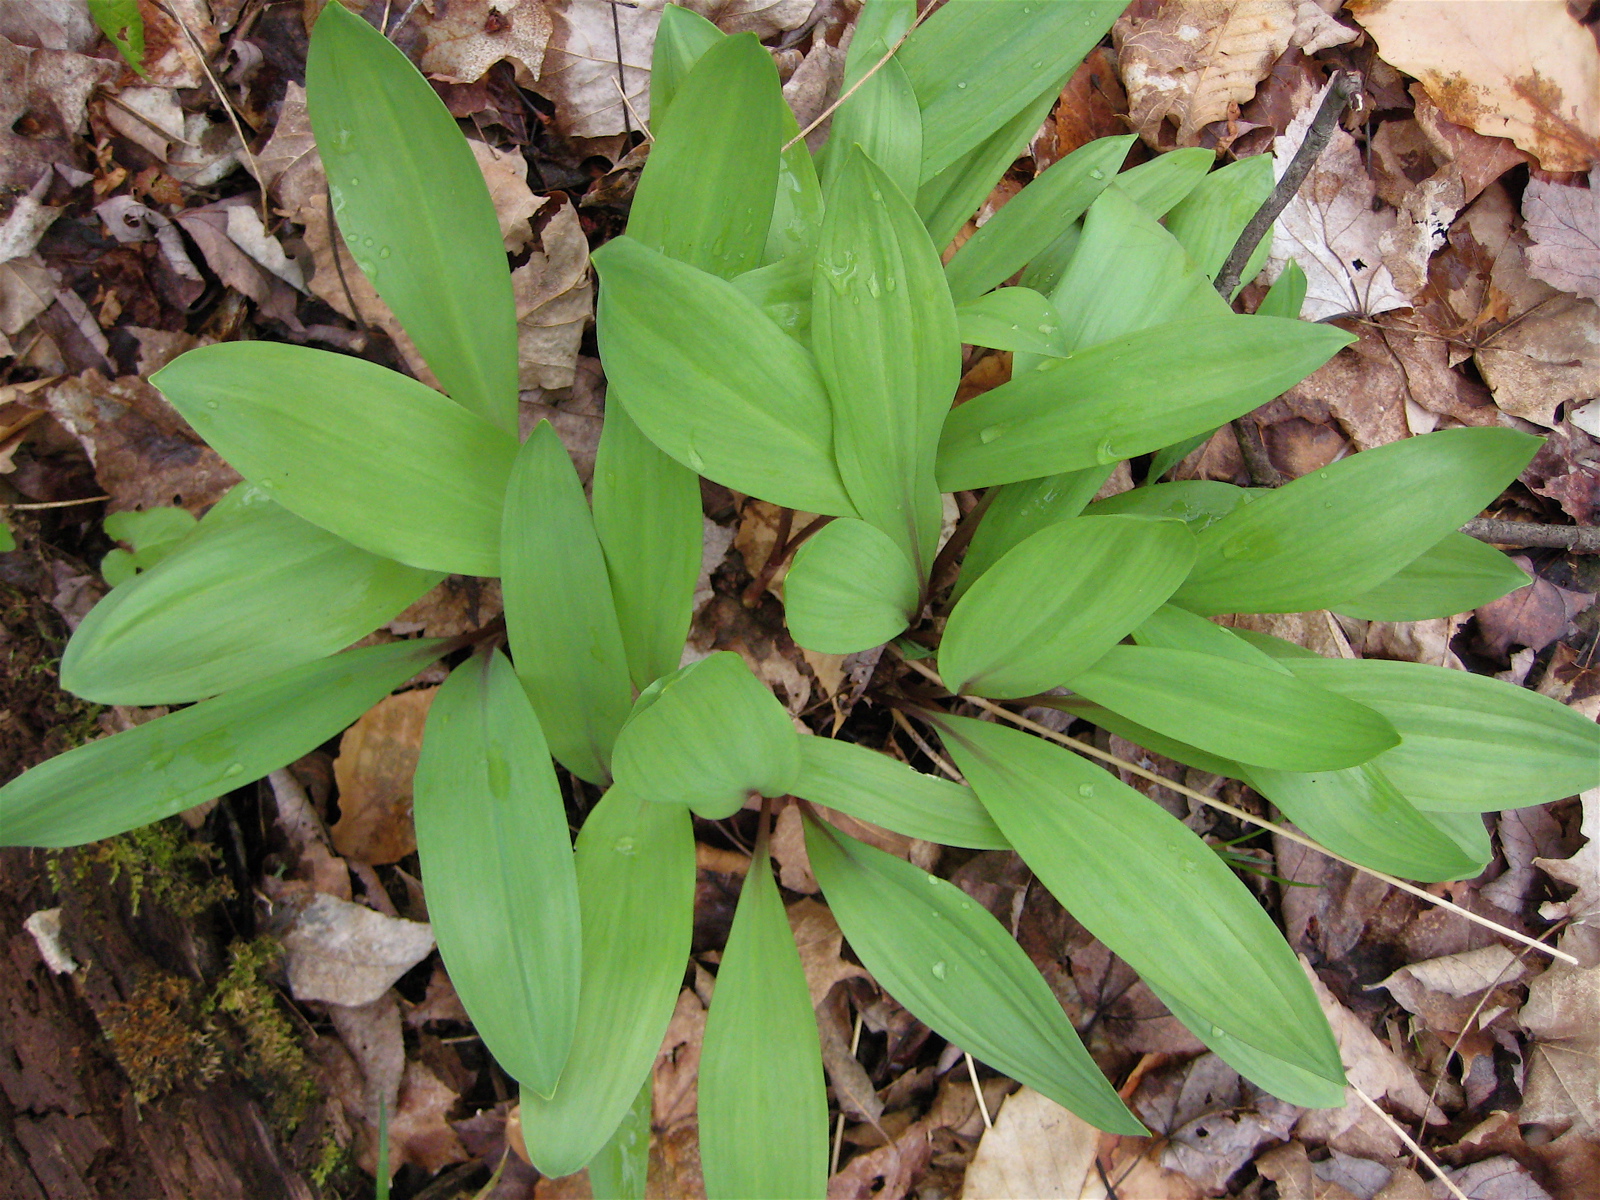
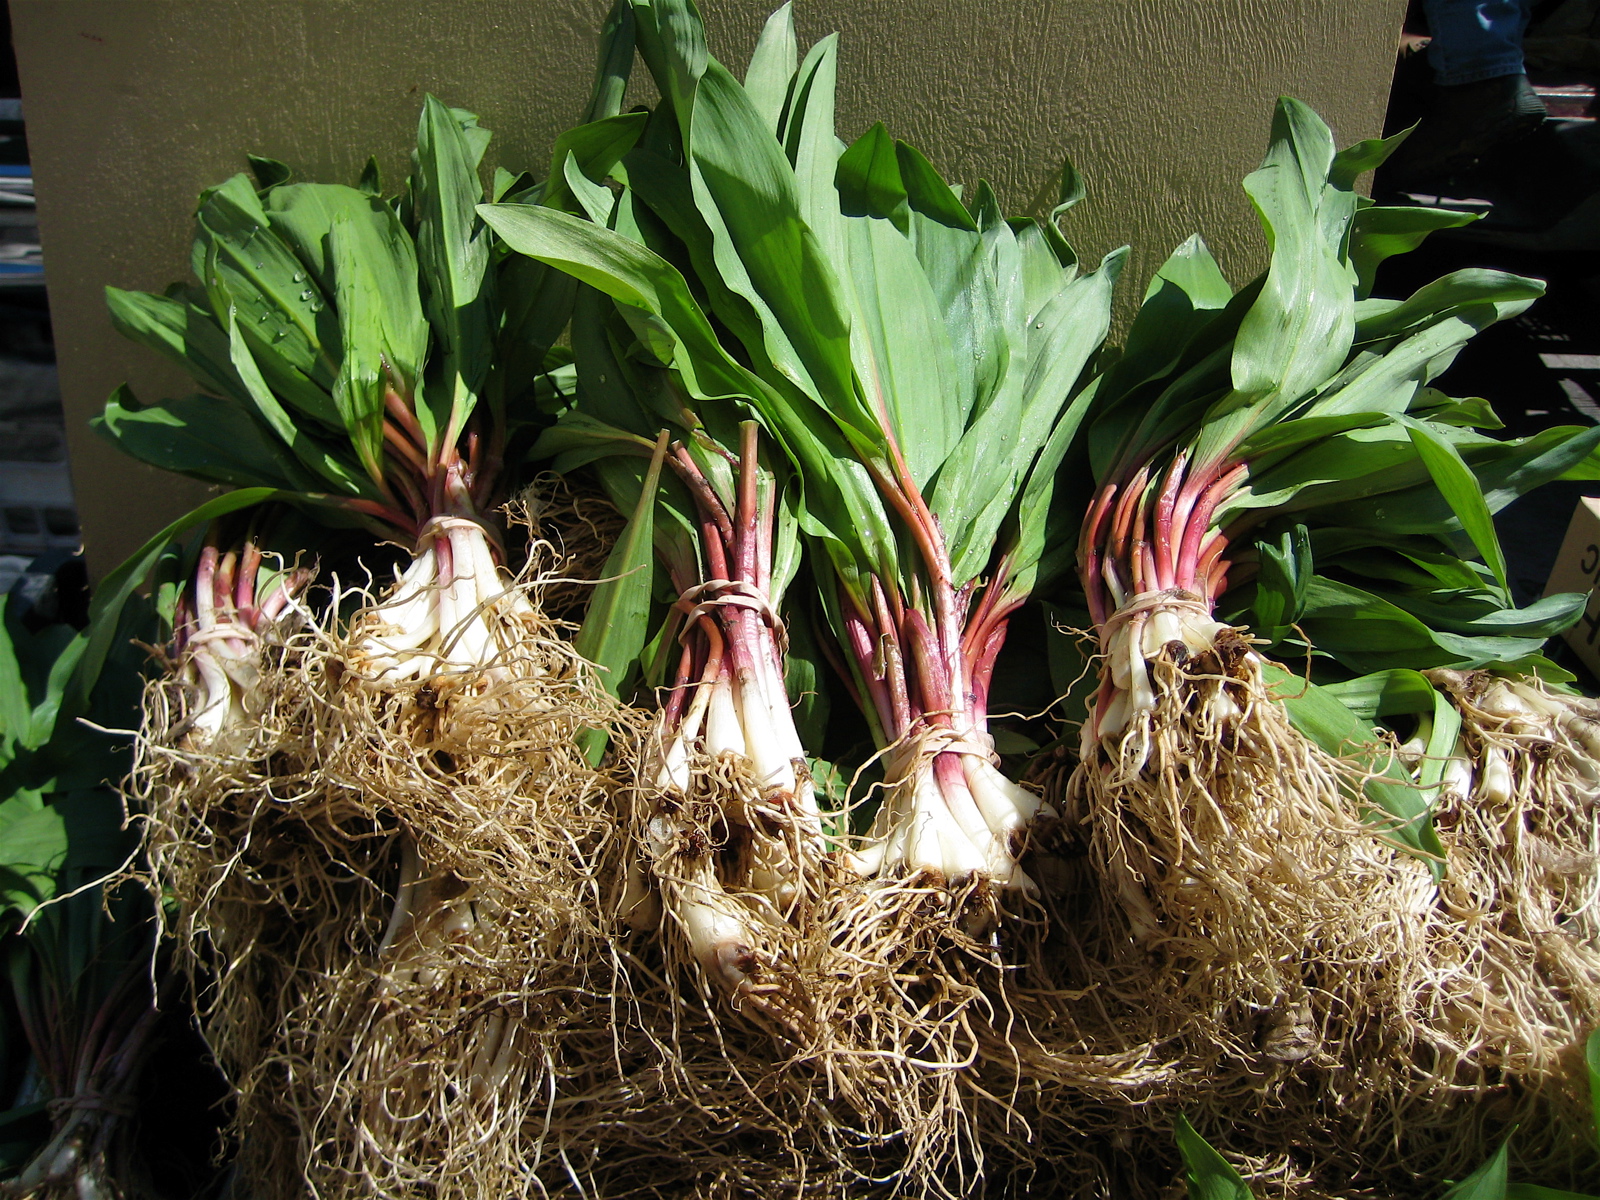 The ramps have arrived. Ramps are wild leeks, and belong to the same genus as onions, garlic and chives. Their flavor is a wild and woodsy combination of the three. You can eat the entire plant, the bulb, stalk, and leaves, and can use them in recipes where you'd use garlic, onions, leeks, or scallions. They are native to North America, and thrive in damp woodlands. They are one of the first splashes of green in the woods, and an unmistakable sign that spring has finally decided to come to the party. (here is one growing in our yard--that I had planted from a few extra I had bought at the farmer's market two seasons ago). 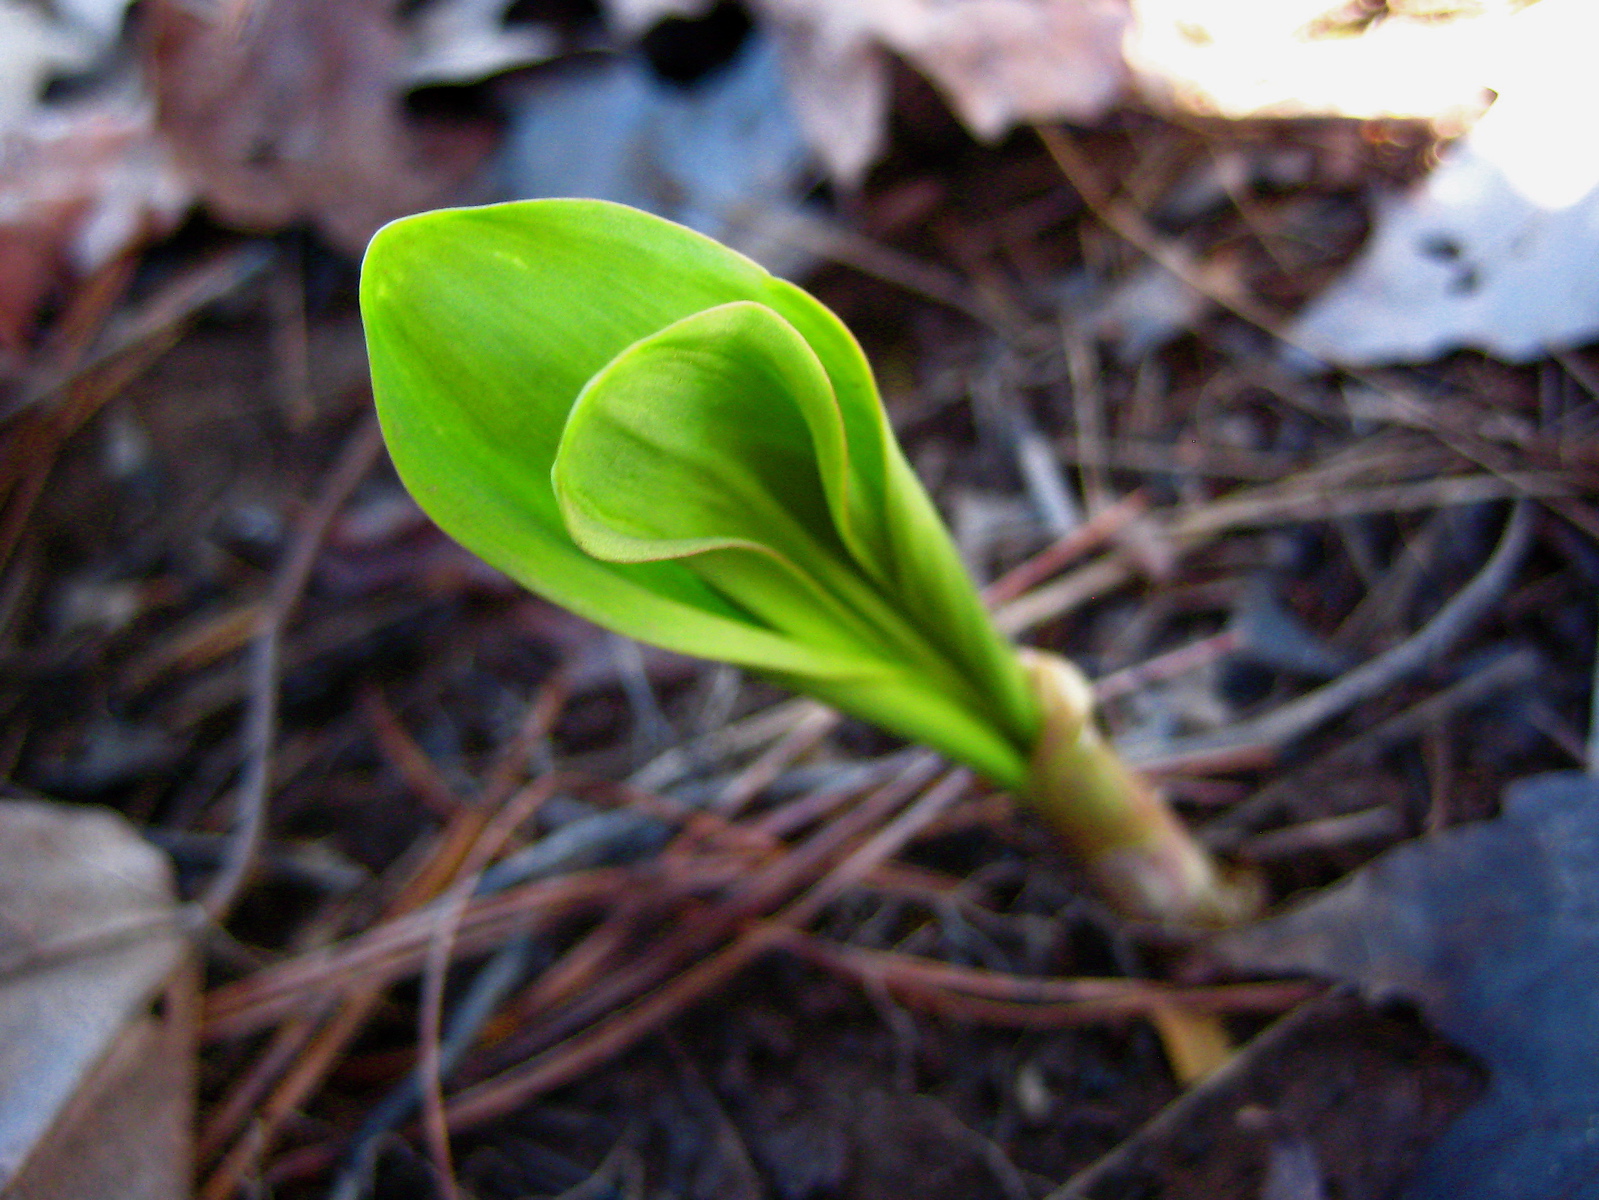 To make them even more of a produce rock star, they are only around for about a month, after which the flavor grows too aggressive. During that time, these slender green devils send the culinary world into a bit of a frenzy. In Appalachia there are many community-wide festivals devoted solely to ramps. In New York City, it's tough to walk into a restaurant in April and not find at least one ramp special on the menu. At Rick Bishop's Mountain Sweet Berry Farm stand in Union Square's greenmarket, there is a sign propped up by his ramps with business cards from spectacular NYC chefs (who get their ramps from Rick), and handwritten notes of how they each prepare this seasonal delicacy: The Modern: ramp ravioli Gramercy Tavern: grilled, pickled, salsa verde with ramp greens, sauteed with scallions, salad of leeks with grilled ramps Butter: chopped eggs on toast with grilled ramps and ricotta Corton: ramp wrapped quail breast and lardo ballantine SD26: ramp risotto Mas Farmhouse: sauteed with bacon cream Co.: grilled with lamb shoulder Dell'anima: Tajarin "alla carbonara"--ramps, speck, egg, and pecorino When I visited the stand yesterday, I told Rick I was in a bit of a "ramp rut" and needed some new ideas. And did I get some! (Tip: always chat with the farmer at the stand to find out their favorite way of preparing their vegetables. Amazing resource!) Great new ramp recipes to follow...and in the meantime, get some while you can. 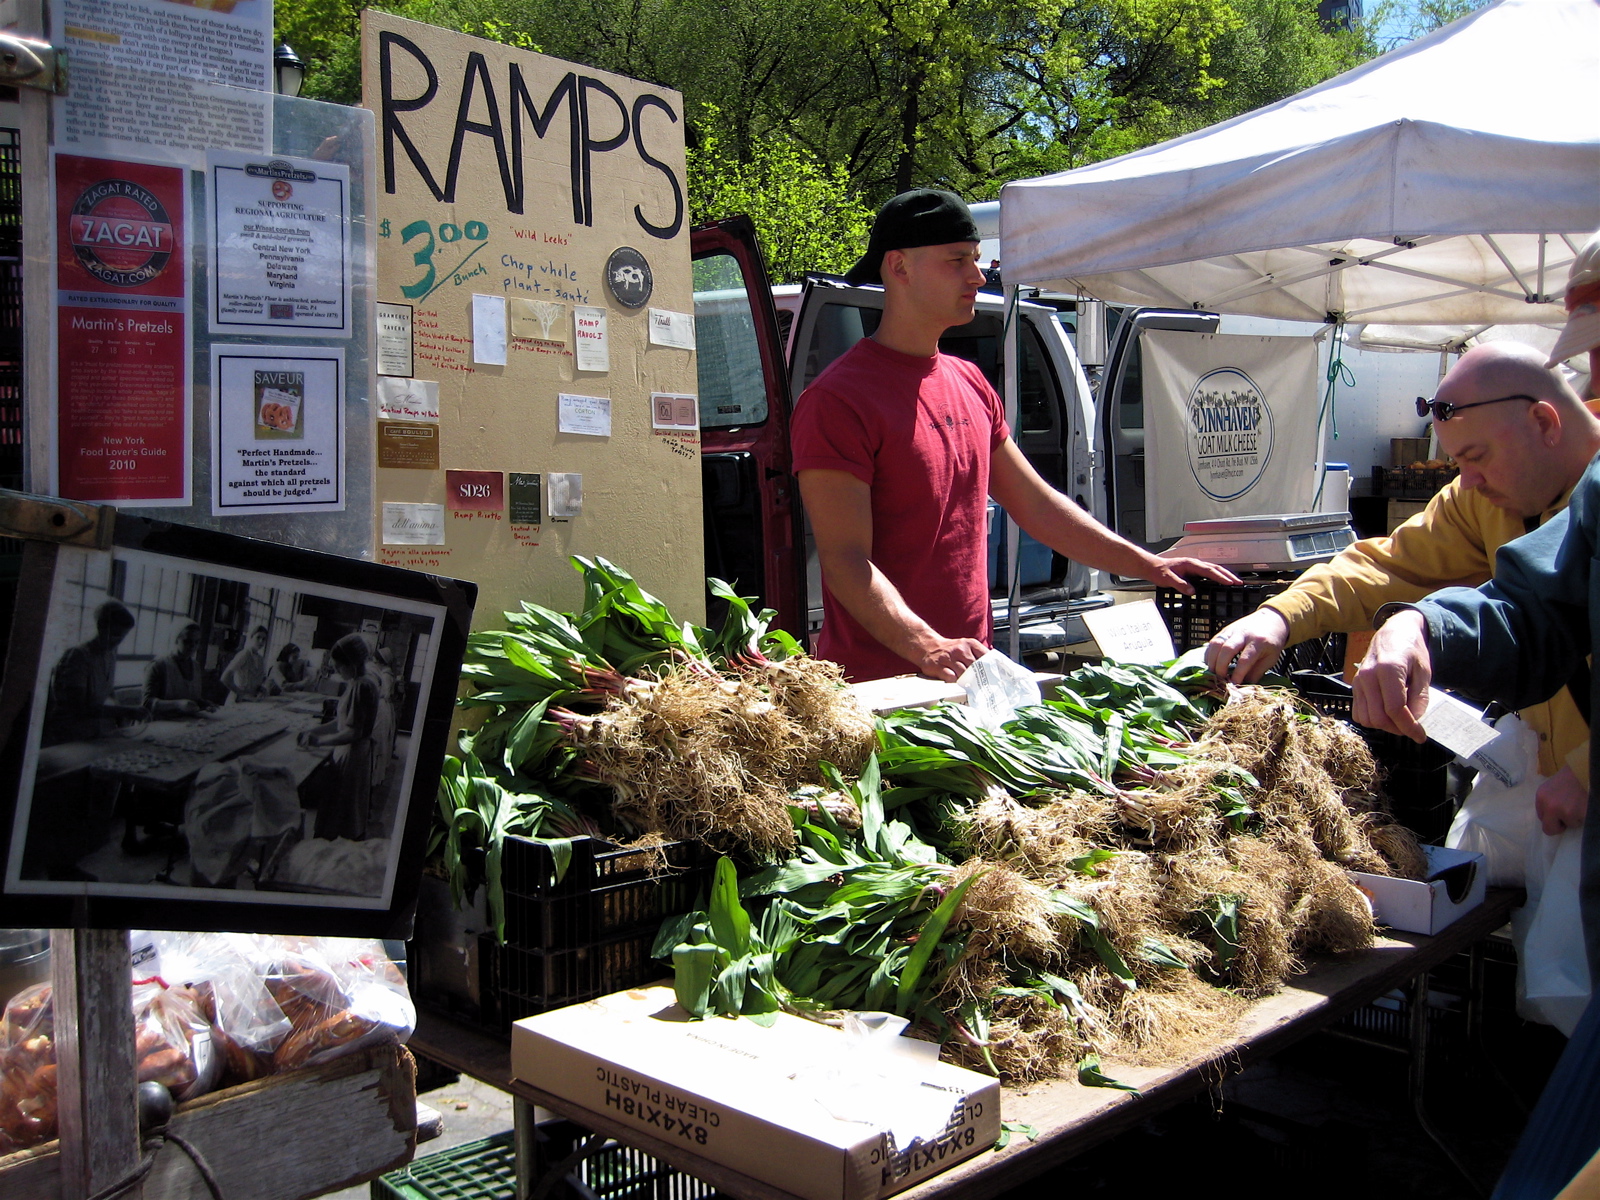 | ||||||||||||||||
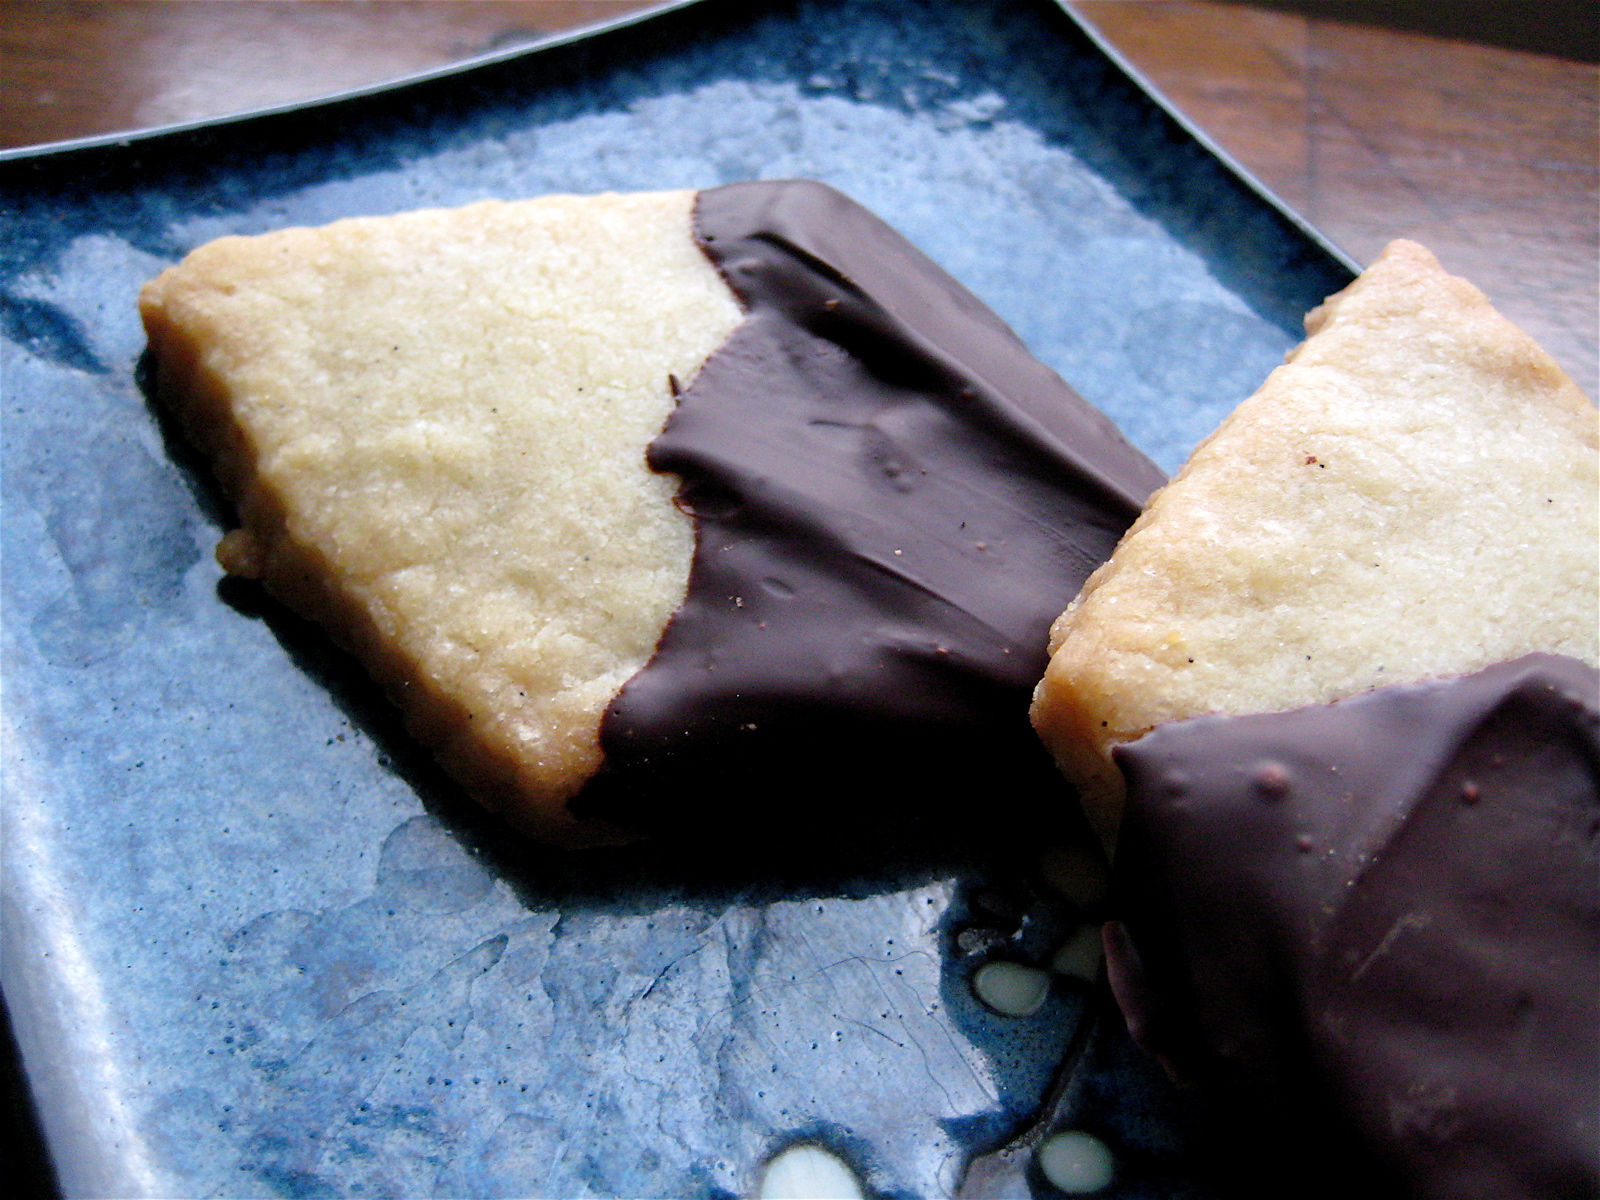 I was asked to bring dessert to a dinner with some of my favorite girls (you know who you are...), the day after Easter. With this year's holiday resulting in a serious lack of bunny candy (believe me, for the better) I thought about trying to come up with a grown-up easter sweet. These dark chocolate dipped shortbread cookies were the perfect fit, and paired very well with the individual creme caramels I made in addition. They are both classic and elegant, and not too sweet, so could be great with afternoon tea or alone with dessert wine. DARK CHOCOLATE DIPPED SHORTBREAD By Catie makes about 2 1/2 dozen cookies, depending on shape 1 lb (4 sticks) unsalted butter, softened 1 cup sugar 1 vanilla bean (optional, but worth it), split and scraped 1 tsp vanilla extract 4 cups AP flour 3/4 tsp salt 8 oz dark chocolate Preheat oven to 350 F. With either a hand mixer, or stand mixer with a paddle attachment, cream together softened butter, sugar, and the split and scraped vanilla bean (seeds and bean pod), until combined and fluffy, and the oils from the vanilla bean have been beaten into the butter. Remove the vanilla bean. Add vanilla extract and mix to combine. 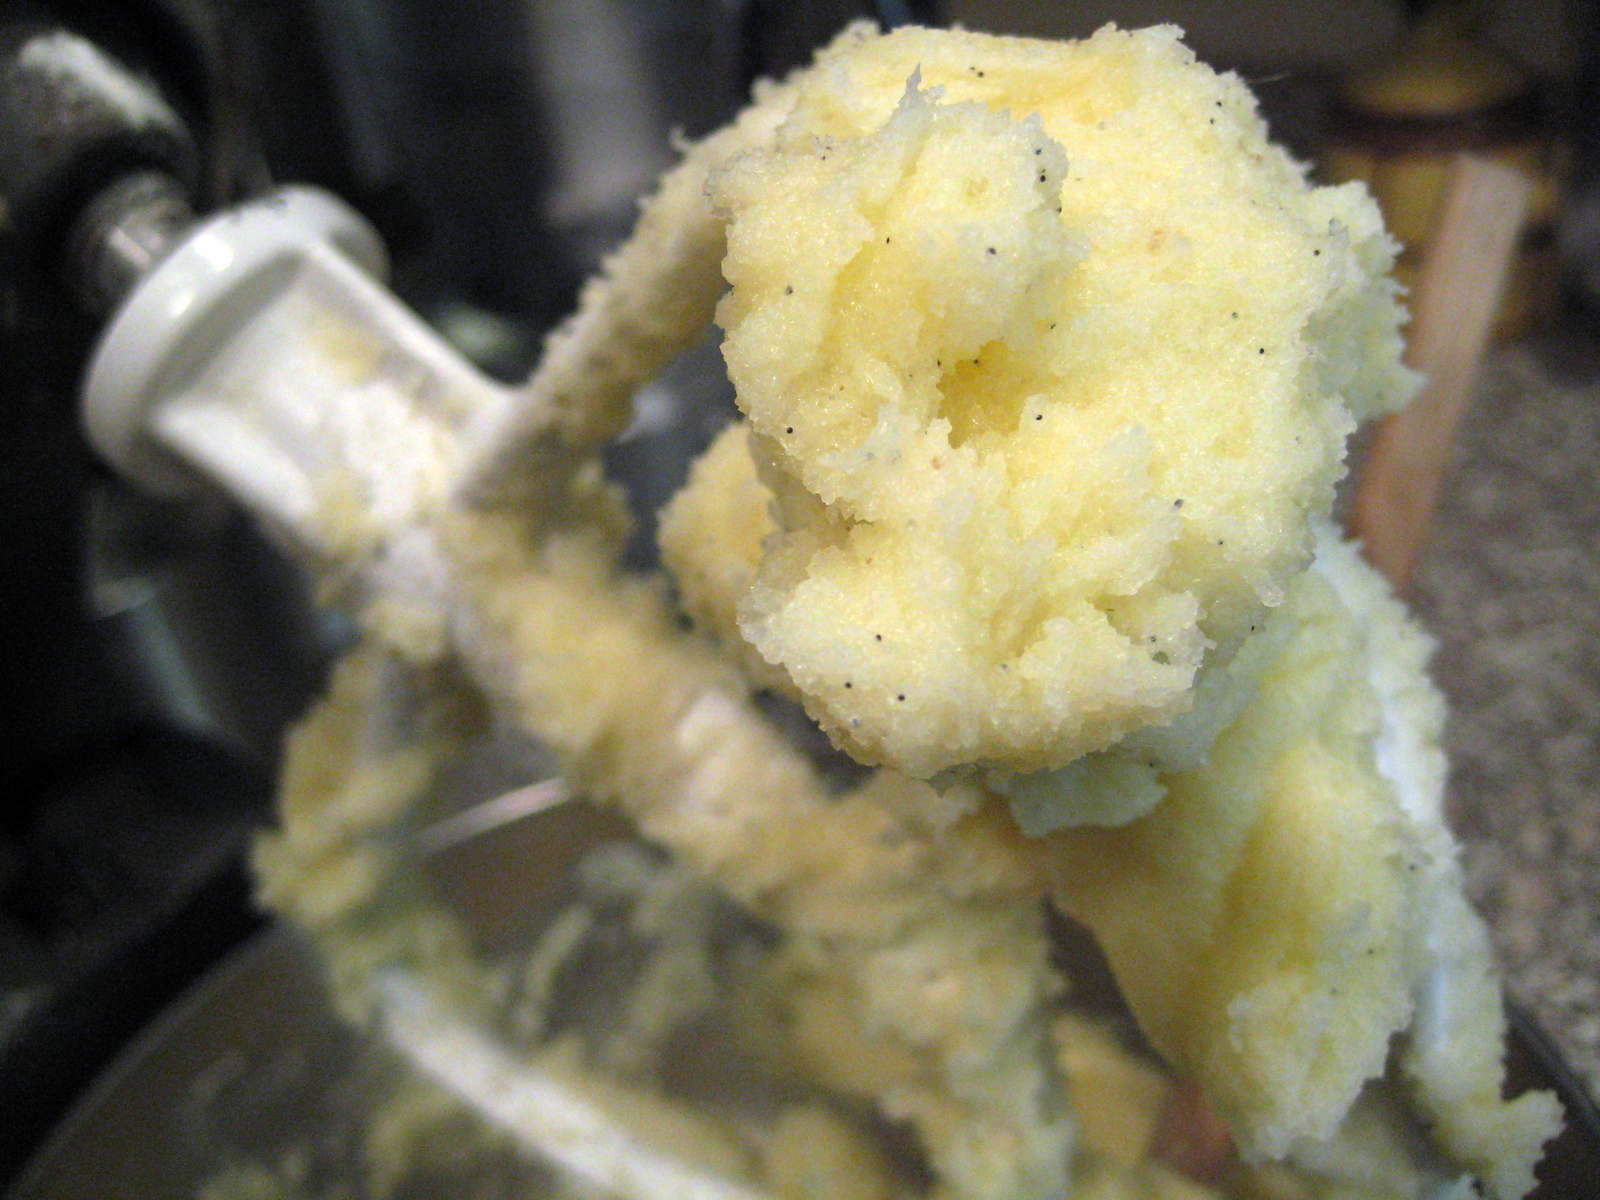 In a separate bowl sift together flower and salt. Add to butter mixture, a bit at a time, until all mixed in. Shape into two disks on a floured surface, wrap in plastic wrap and refrigerate for 30 minutes. Gently roll out one of the disks of dough on a well floured surface to a 1/3" thick. Cut into desired shape, either with a knife or cookie cutters. Place on cookie sheet, sprinkle with a little extra sugar, and bake at 350 F for about 20 minutes, until the bottom and edges are just turning golden. Cool on baking rack. You can freeze any unused portion of dough. 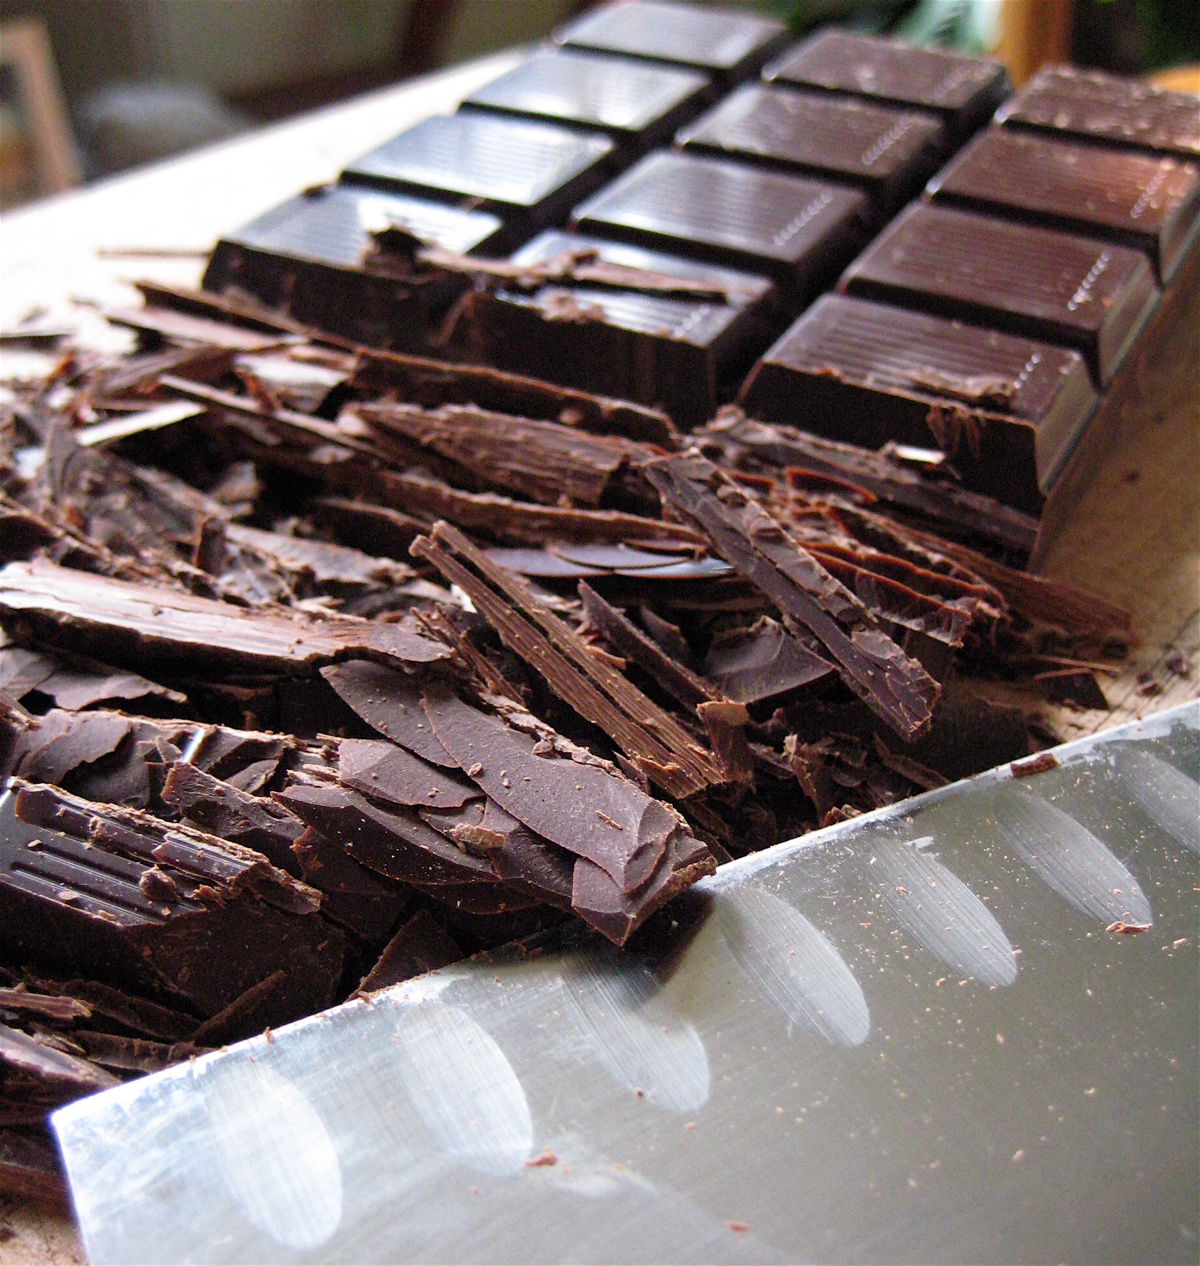 For the chocolate: Finely chop the dark chocolate with a large chef's knife. To temper the chocolate, so it stays glossy when it dries and doesn't develop that dull gray finish, place half of the chopped chocolate in a microwave-save bowl. Microwave for 30 seconds, remove and stir, and repeat at 30 second intervals until just melted. Then add a portion of the unmelted chocolate shavings to the bowl, stir in to melt by the heat of the chocolate (no more microwave). Repeat until all the unmelted chocolate has been incorporated. When cookies are cool, gently spoon chocolate on one of the ends of the cookies, scraping off any excess. Place on a baking sheet lined with parchment to cool. Note: For the chocolate, try not to use chocolate chips. Most chips contain an emulsifier so that they don't melt completely and ooze everywhere when baked in cookies. Instead use your favorite good dark chocolate eating bar, or these Guittard chocolate wafers 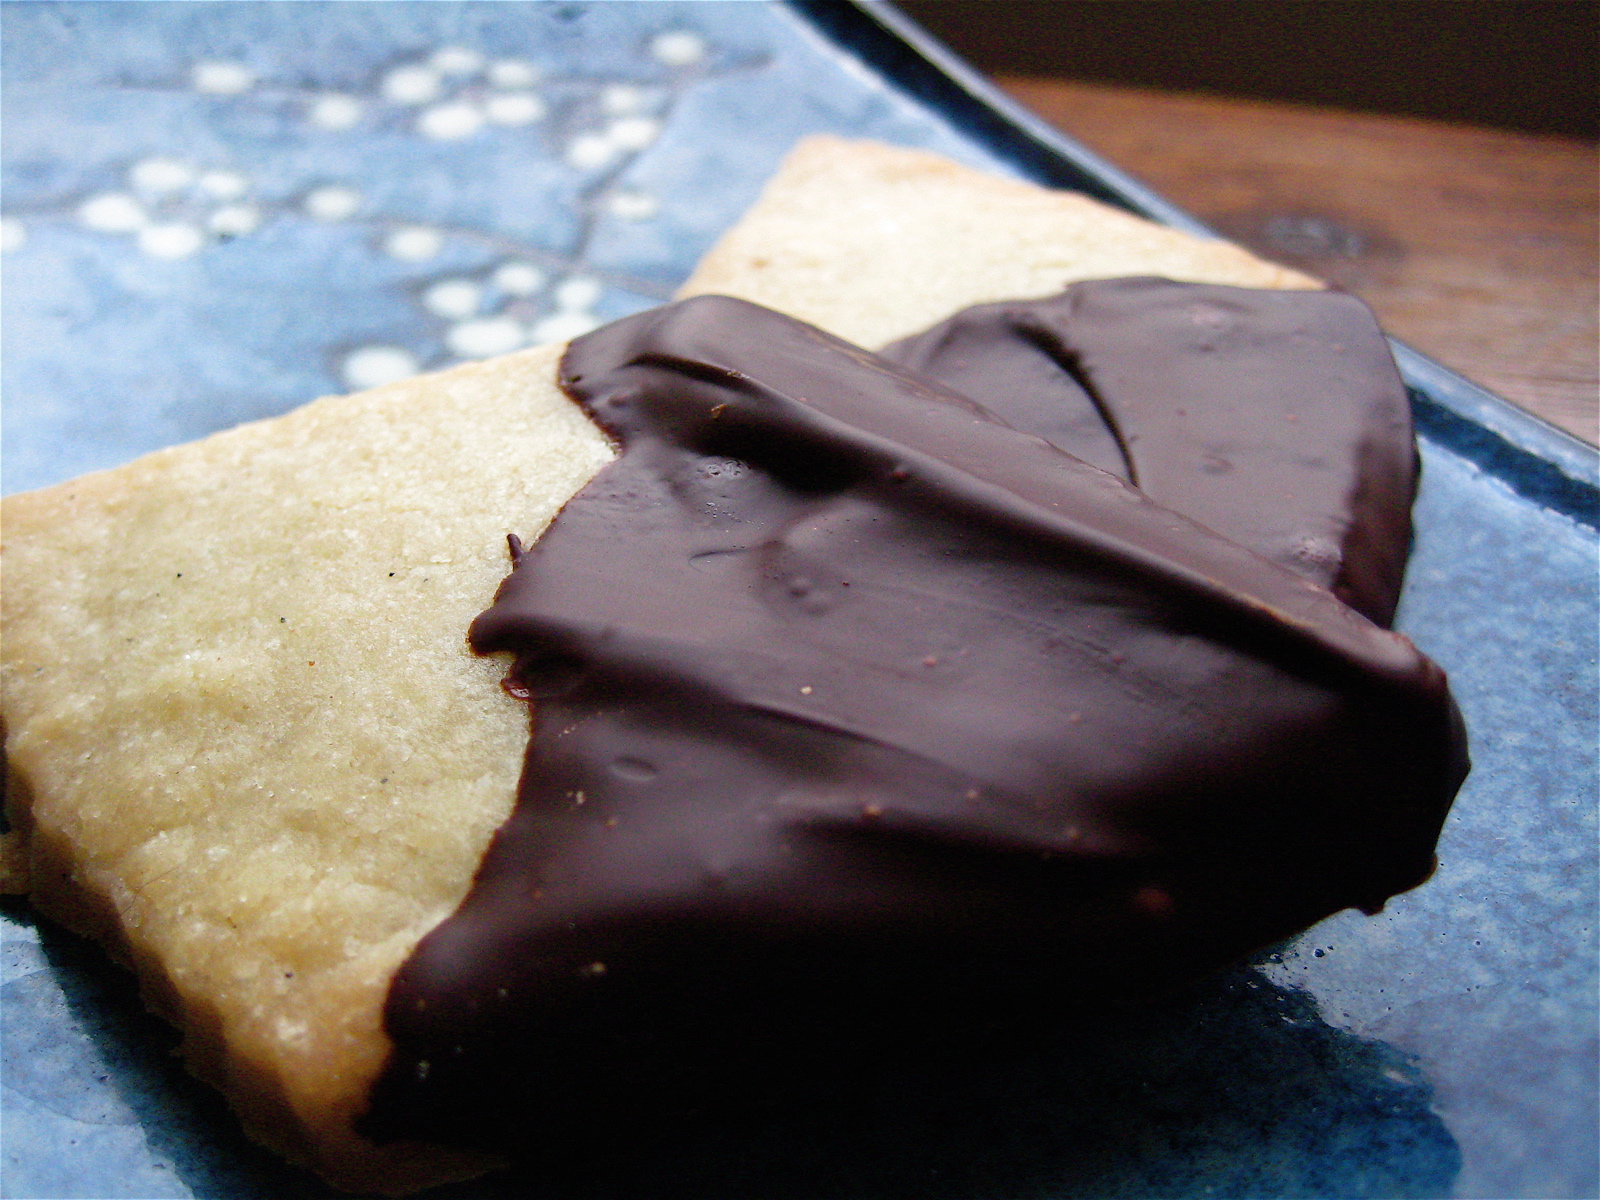 | ||||||||||||||||
|
|
{ welcome! }
 Catie Baumer Schwalb is a chef, food writer and photographer, who splits her life between the city and the country. Not too long ago Catie was a New York City based actress and playwright for more than a decade. She has her Master of Fine Arts from the National Theater Conservatory, and her Grand Diplôme in classic culinary arts from the French Culinary Institute in New York City.
... Read More ≫
Catie Baumer Schwalb is a chef, food writer and photographer, who splits her life between the city and the country. Not too long ago Catie was a New York City based actress and playwright for more than a decade. She has her Master of Fine Arts from the National Theater Conservatory, and her Grand Diplôme in classic culinary arts from the French Culinary Institute in New York City.
... Read More ≫{ get in touch }
{ what's new }
September 12, 2015
August 19, 2013
August 15, 2013
August 13, 2013
August 1, 2013
{ favorites }
{ archives }
Appetizers / Breads & Pastry / Breakfast / Cakes / Canning / Condiments / Dinner / DIY foods / Drinks / Fall / favorites / Grains / Holidays / Local / Noodles & Pasta / Pies & Tarts / Poultry / Salads / Seafood / Snacks / Soup / Spring / Summer / Sweets / Techniques / Vegetables / Vegetarian / Winter /
{ currently reading }
|


