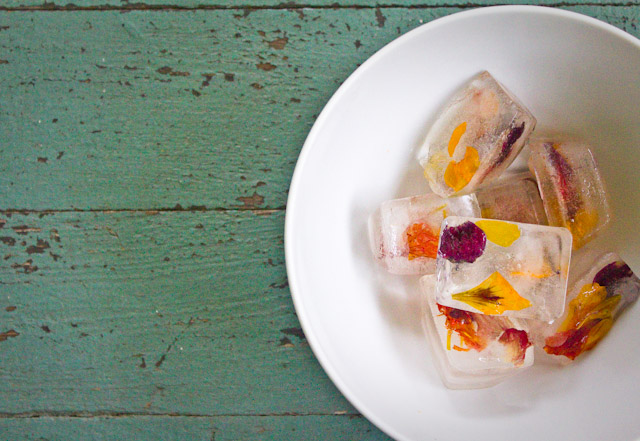
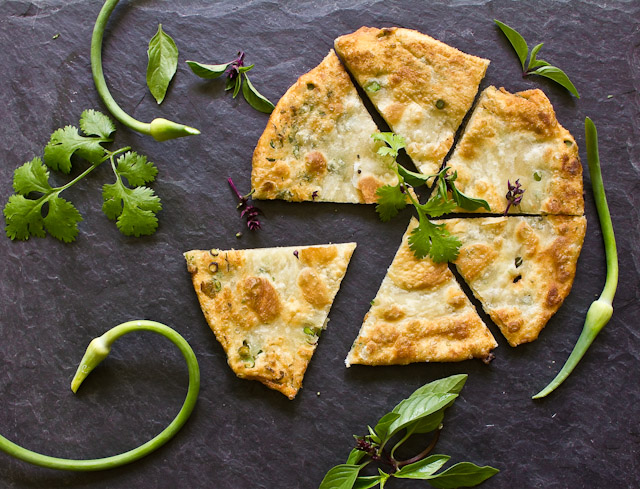
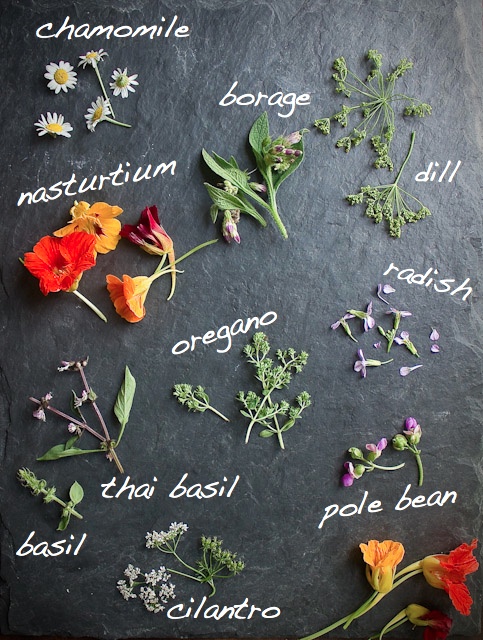
 These weeks the gardens are bursting with flowers. Not the flower gardens, but the herb and vegetable gardens. Some of the flowers I planned on (nasturtiums and chamomile), some are part of the journey (pole bean blossoms which will become bean pods), and some are a result of me not harvesting fast enough and a bit of the plant going to seed (cilantro, basil, dill, oregano, and radish). I'm a big proponent of using as much of a plant or vegetable as I can. One of my favorite "tip to toe" recipes doing this is Chef Bill Telepan's Beet Greens Pierogi with Mixed Summer Beets and Brown Butter Sauce. I also got much too excited when I learned in a master class in culinary school, with chef Michael Anthony of NYC's Gramercy Tavern, that I could pickle the technicolored chard stems I had been pushing aside and composting for years. It is equally exciting for me to use flowers in dishes. As mentioned, some are planned, some are not, but there is a lot of flavor, and a ton of color and texture there that would otherwise go to waste. They are not just a pretty face--and frequently fetch a premium price at the markets. Certainly make sure you know what you are serving and eating, so as not to go all Arsenic and Old Lace on unsuspecting BBQ guests. But there are so many varieties of edibles around right now, and just a small edition of a few feels very very special. Cleaning and Storage Try to pick the flowers as close to use as possible. Store them, unwashed, wrapped gently in paper towel in the refrigerator, protected in a bowl or open container. Teeny tiny bugs love to hide out in their petals and folds, so examine each blossom carefully. To wash, and to refresh flowers that are a little droopy, plunge the entire blossom in a bowl of cold water for about five minutes, and then allow to dry on a paper towel. After washing, flowers can be floated. right side up, in a bowl of cold water until ready to go onto the plate. Ideas for Use - Salads! Whole or torn, little bursts of blossom color are a magnificent addition to salads. Nasturtiums in particular, leaves and flowers, with a wonderful peppery zing, are a great addition. But also think about the flowers of complimentary herbs like dill, basil, cilantro, and chervil. Then consider adding some of the same herb to the dressing to tie it all together. - Garnish soups by floating a single blossom in the middle of the bowl. This is particularly effective with cold soups, as it won't wilt the flower. Try it with Borage, a beautiful purple flower with a taste very similar to fresh cucumber. - Decorate cakes, cupcakes and pastry with a blossom here and there. Edible flowers definitely each have their own flavor, so stick with the sweeter and more floral plants for this, like chamomile, lavender, and mint. - Tear up some petals and sprinkle them over a plate or platter like confetti right before serving. Or make a tiny micro salad of flowers to top a piece of grilled fish or meat.  A quick snapshot from lunch--Buttermilk with Fuji Apple Dashi, Market Herbs and Flowers, and Pine Nuts at Momofuku Ssäm Bar, NYC. | ||||||||||||||||
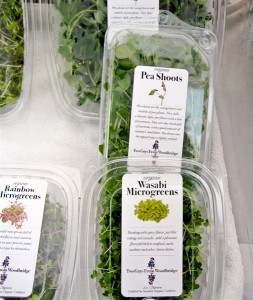
 Micro Mesclun from Windfall Farms, Union Square Greenmarket, NYC. Spring is here, and the farmers' market offerings are slowly transitioning from squash, root vegetables, and cold storage foods to fresh spring produce in the weeks ahead. One of the first fresh spring finds to look for are microgreens.
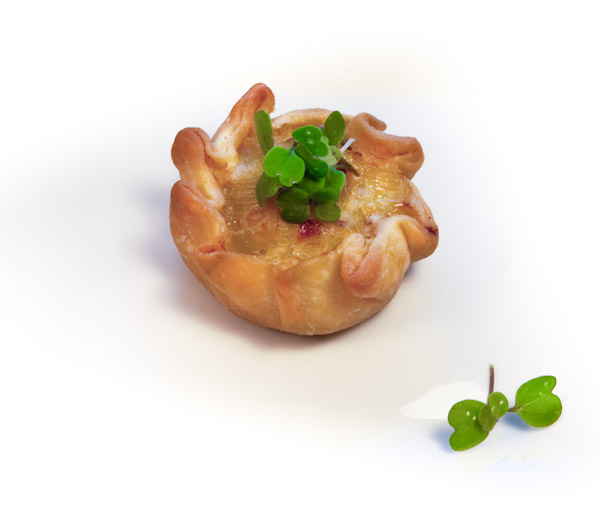
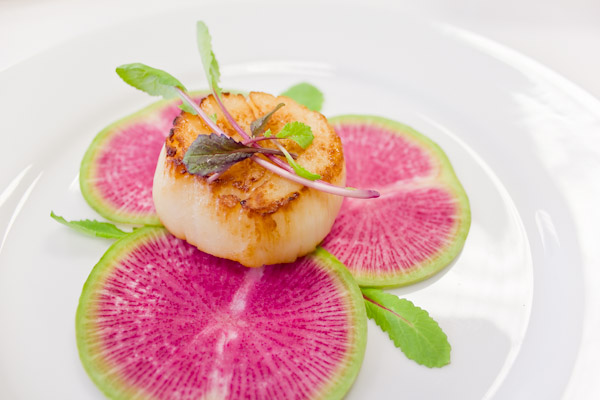
Arugula, lettuces, beets, radish, and kale are very commonly used for microgreens, but cilantro, basil and wasabi are available for a really exciting addition. They are used frequently as a fancy-schmancy garnish in restaurants, offering great color and texture, in addition to a burst of flavor on the top of a dish. But use them at home for a delicate little salad, to top off a piece of grilled seafood, or anywhere you want to add a small bit of freshness without overpowering a recipe with large greens leaves. They are thin and delicate, so are perfectly tender just eaten raw. Keep an eye out for them at the market, or grow your own in some seed flats in your window until the weather gets a little warmer, and then set aside a micro-patch of garden for the rest of the season. Ready in just over a week, I've planned ahead for dinner parties, planting seeds a week or so prior, and snipping fancy-schmancy garnishes of my own hours before my guests arrive. Impressive? Yes. Easy? Yes. Flavorful, healthy, and fun on plate? Yes, yes and more yes. Gruyere and leek tartlette with homegrown arugula microgreens. | ||||||||||||||||
|
|
{ welcome! }
 Catie Baumer Schwalb is a chef, food writer and photographer, who splits her life between the city and the country. Not too long ago Catie was a New York City based actress and playwright for more than a decade. She has her Master of Fine Arts from the National Theater Conservatory, and her Grand Diplôme in classic culinary arts from the French Culinary Institute in New York City.
... Read More ≫
Catie Baumer Schwalb is a chef, food writer and photographer, who splits her life between the city and the country. Not too long ago Catie was a New York City based actress and playwright for more than a decade. She has her Master of Fine Arts from the National Theater Conservatory, and her Grand Diplôme in classic culinary arts from the French Culinary Institute in New York City.
... Read More ≫{ get in touch }
{ what's new }
September 12, 2015
August 19, 2013
August 15, 2013
August 13, 2013
August 1, 2013
{ favorites }
{ archives }
Appetizers / Breads & Pastry / Breakfast / Cakes / Canning / Condiments / Dinner / DIY foods / Drinks / Fall / favorites / Grains / Holidays / Local / Noodles & Pasta / Pies & Tarts / Poultry / Salads / Seafood / Snacks / Soup / Spring / Summer / Sweets / Techniques / Vegetables / Vegetarian / Winter /
{ currently reading }
|


